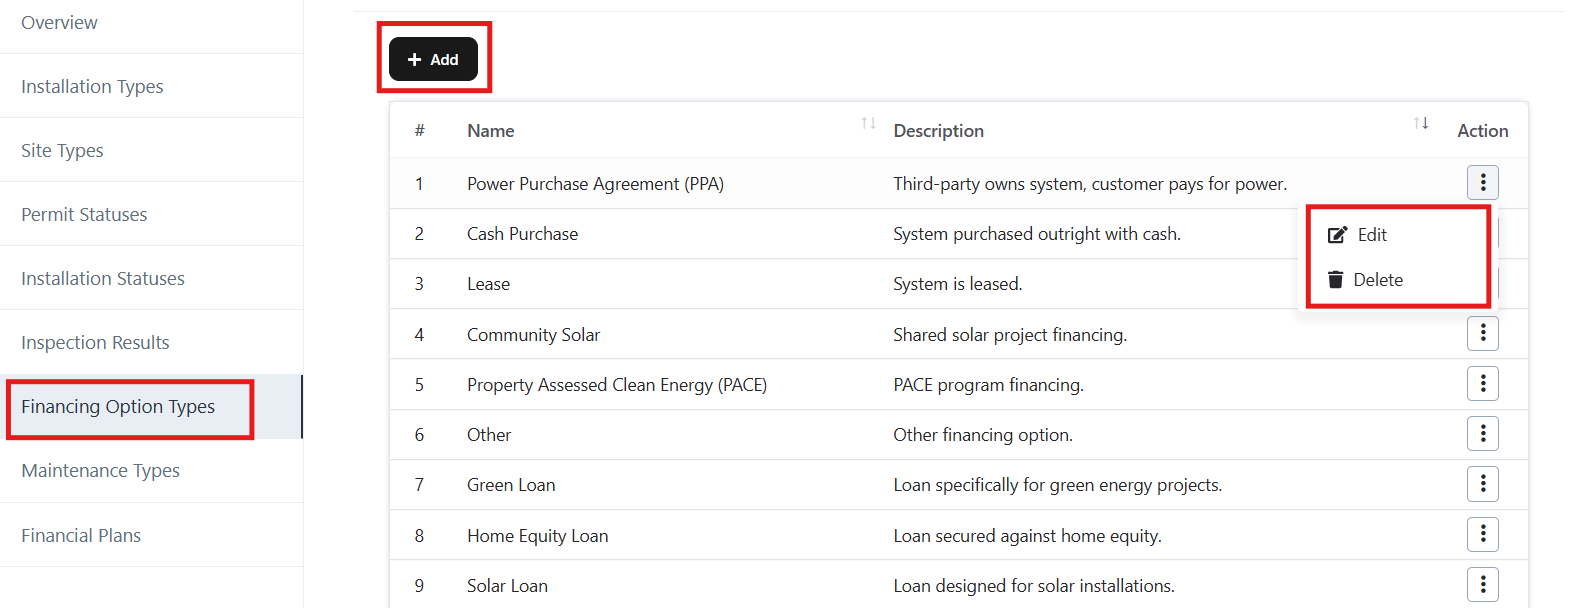
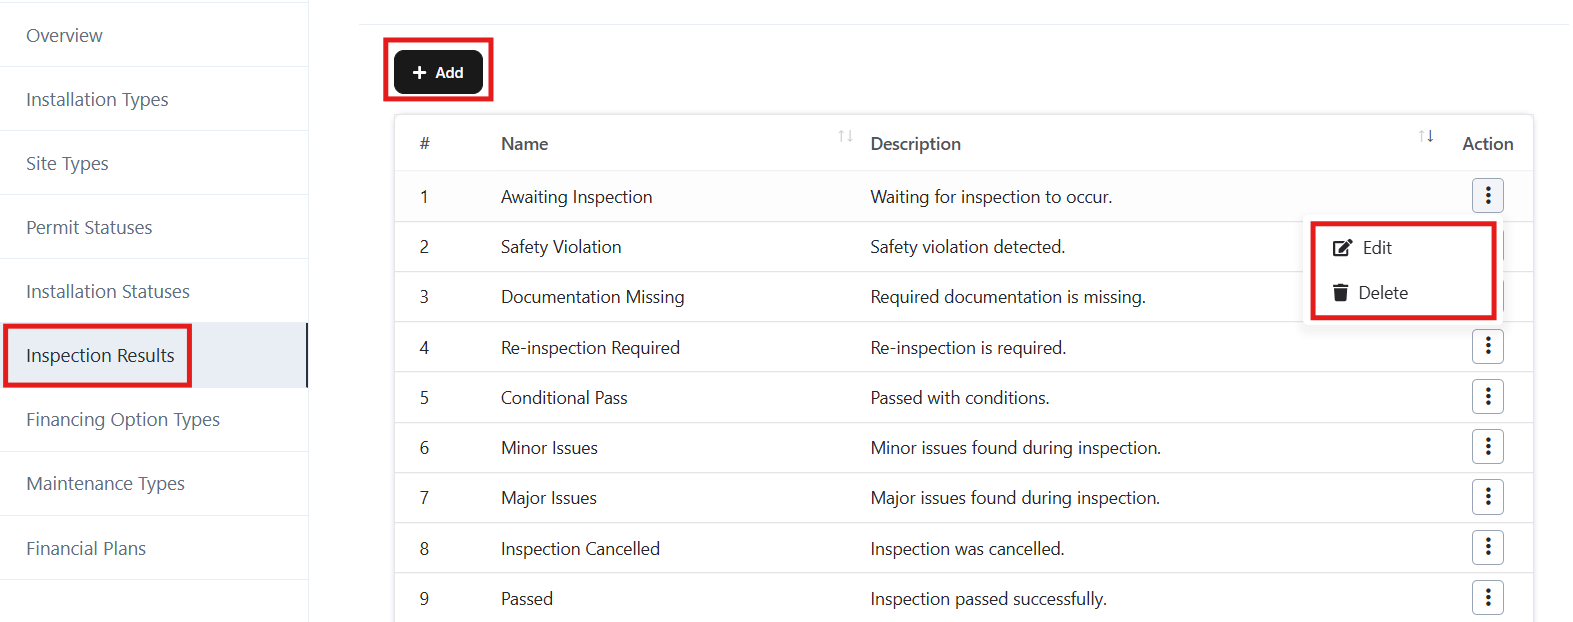
Financial Plans
The Financial Plans module allows you to add, edit, view, and manage various financial plans for solar projects.
Accessing Financial Plans
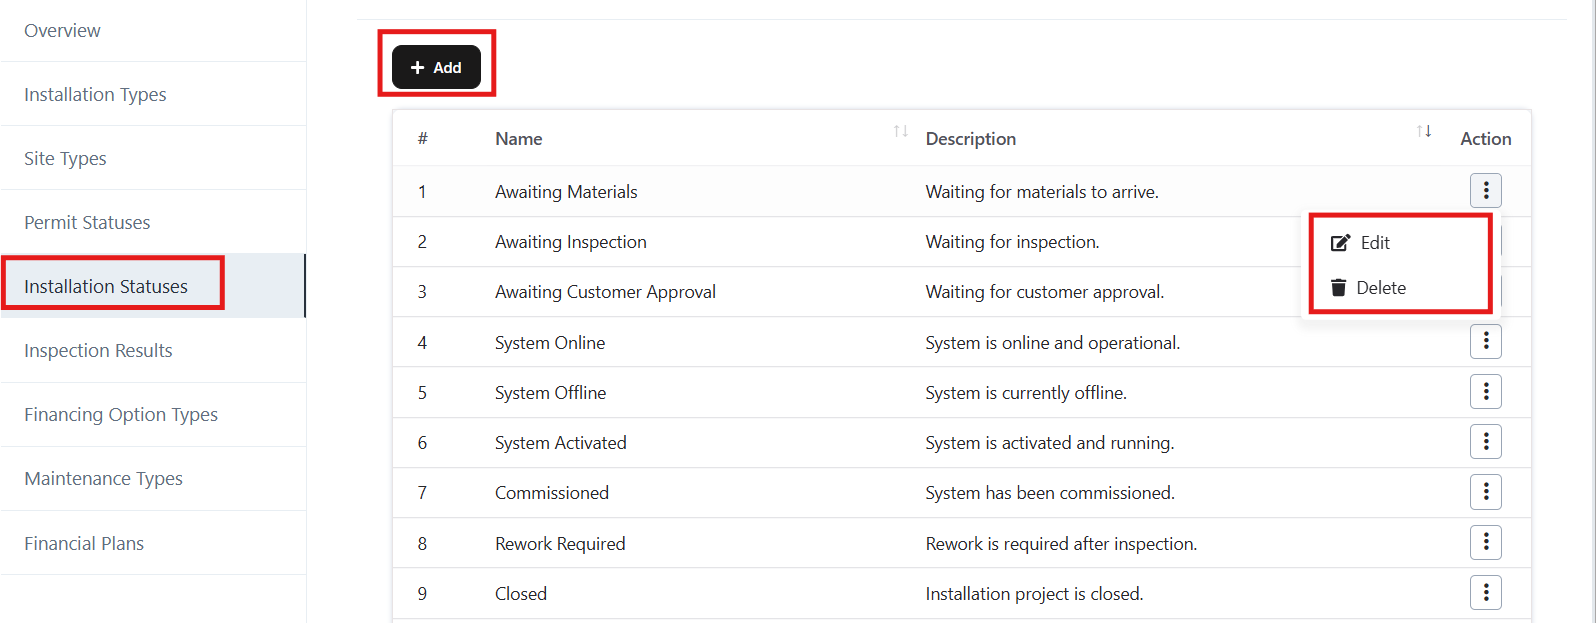
- Navigate to the Solar > Settings > Financial Plan section from the left menu.
- A list of existing financial plan will be displayed with details such as:
- Plan Name
- Plan Type
- Interest Rate
- Term (Months)
- Monthly Payment
- Total Amount
- Status
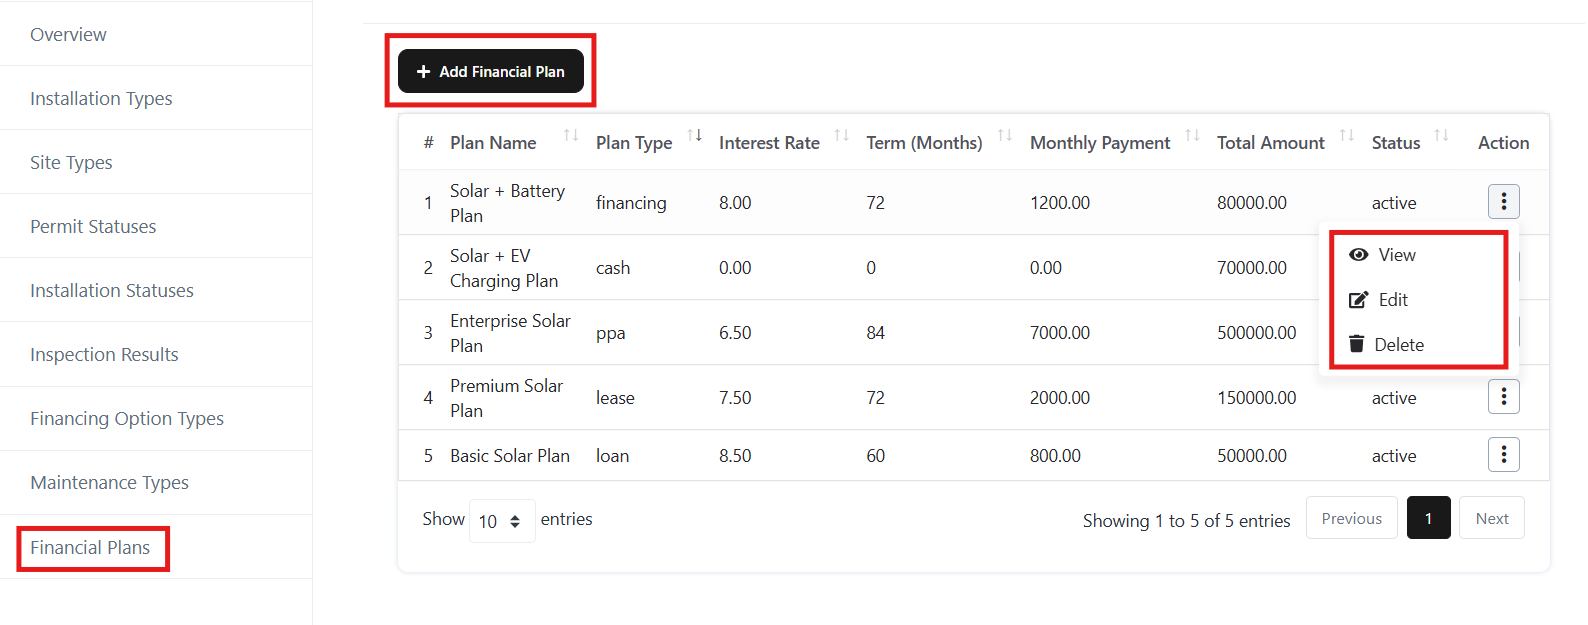
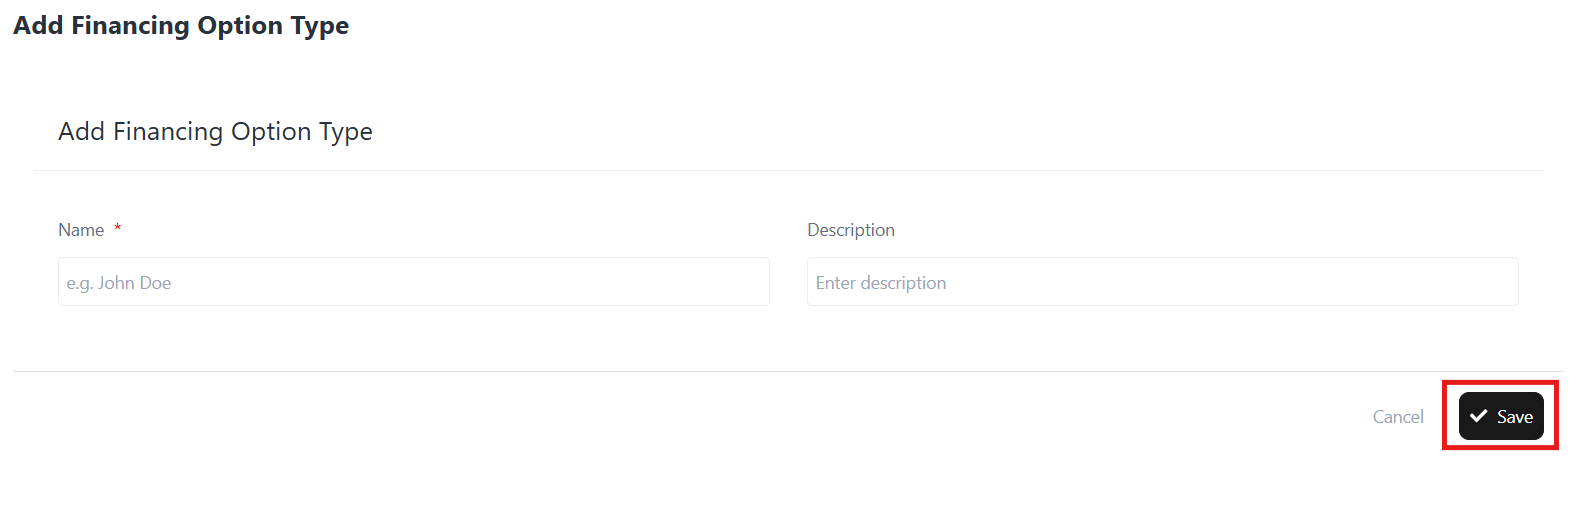
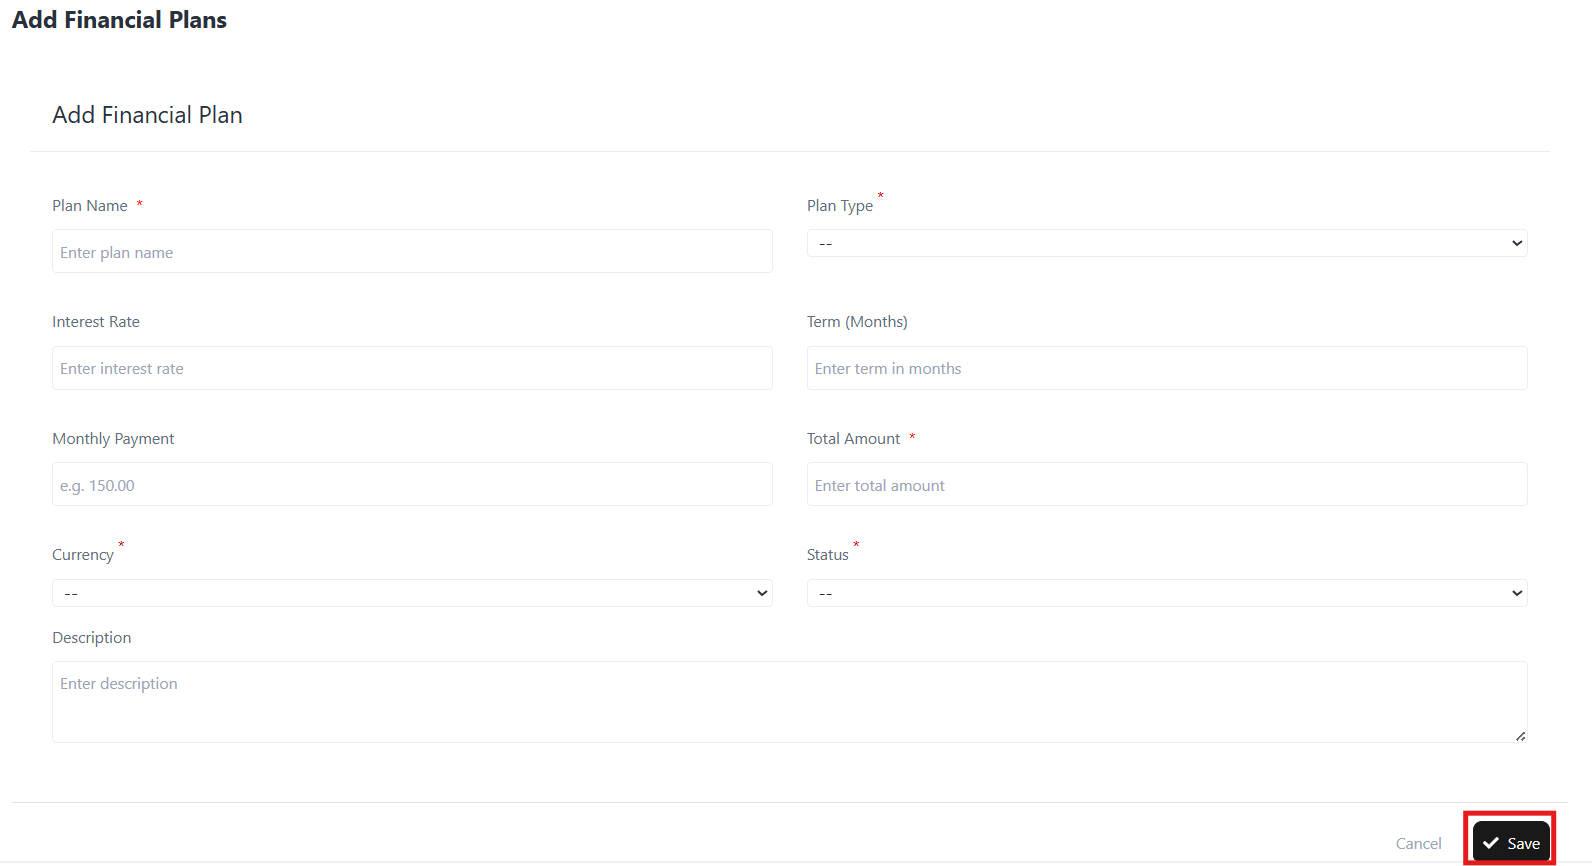
Add a Financial Plan
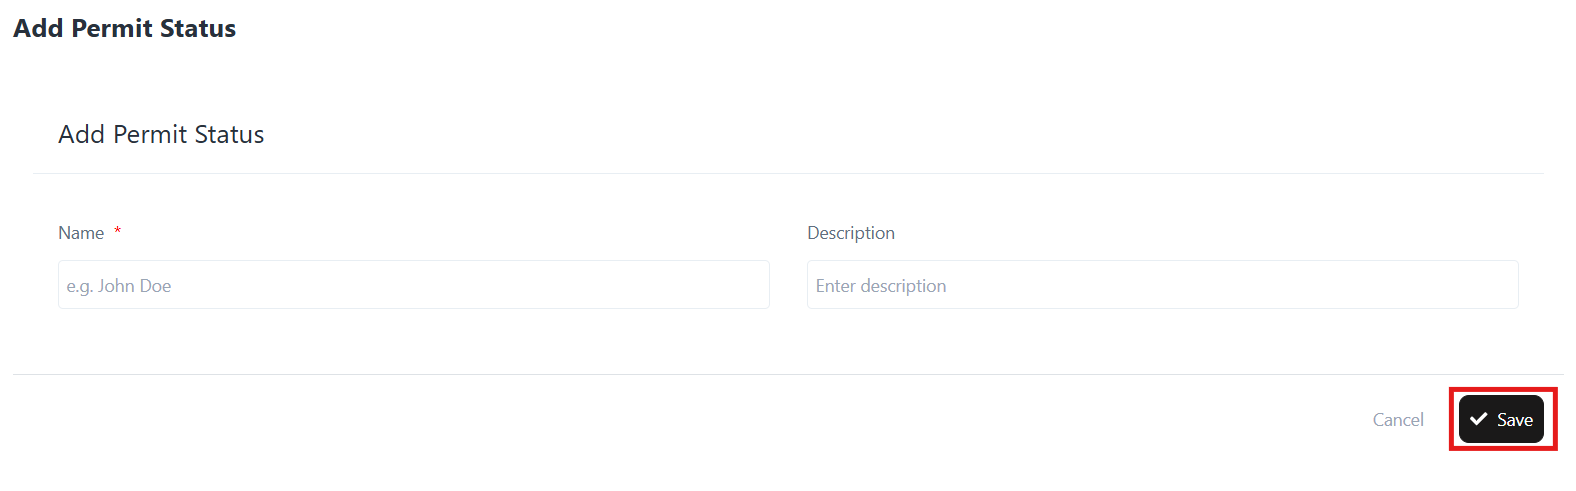
- Click the + Add Financial Plan button at the top.
- Fill in the following details:
- Plan Name – Enter the name of the plan.
- Plan Type – Choose the plan type (e.g., financing, lease, loan, PPA, cash).
- Interest Rate – Input the interest rate for the plan.
- Term (Months) – Enter the duration of the plan in months.
- Monthly Payment – Define the monthly installment.
- Total Amount – Enter the total payable amount.
- Currency – Select the applicable currency.
- Status – Set the plan as Active or Inactive.
- Description – Provide a short explanation of the plan.
- Click Save to create the plan.
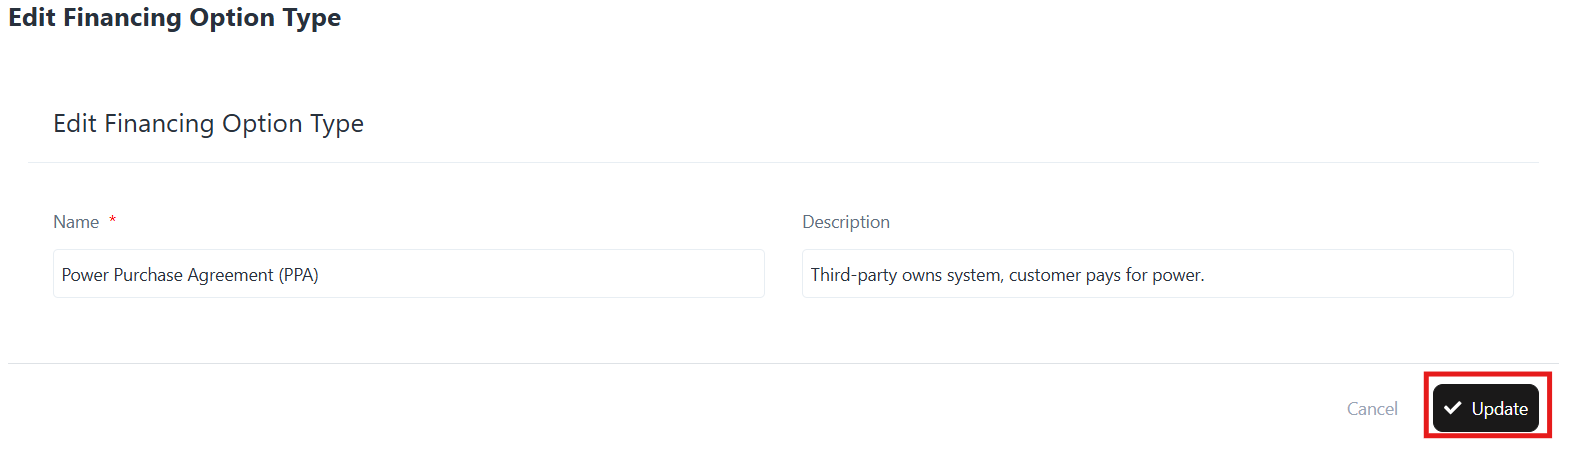
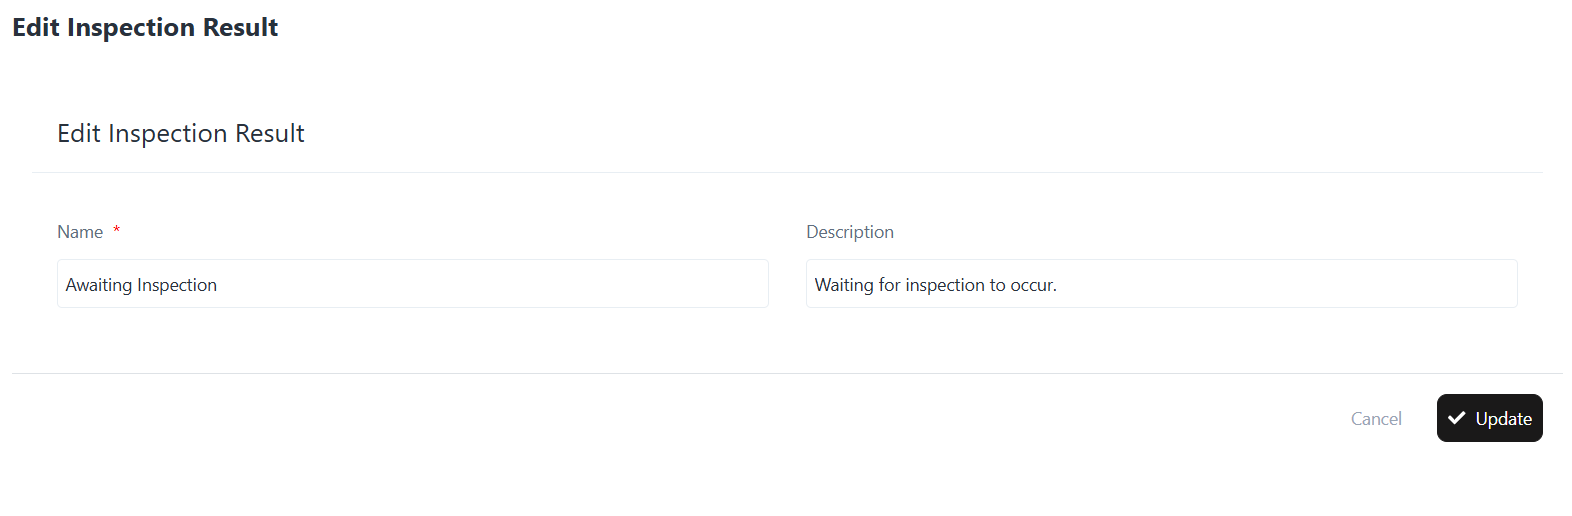
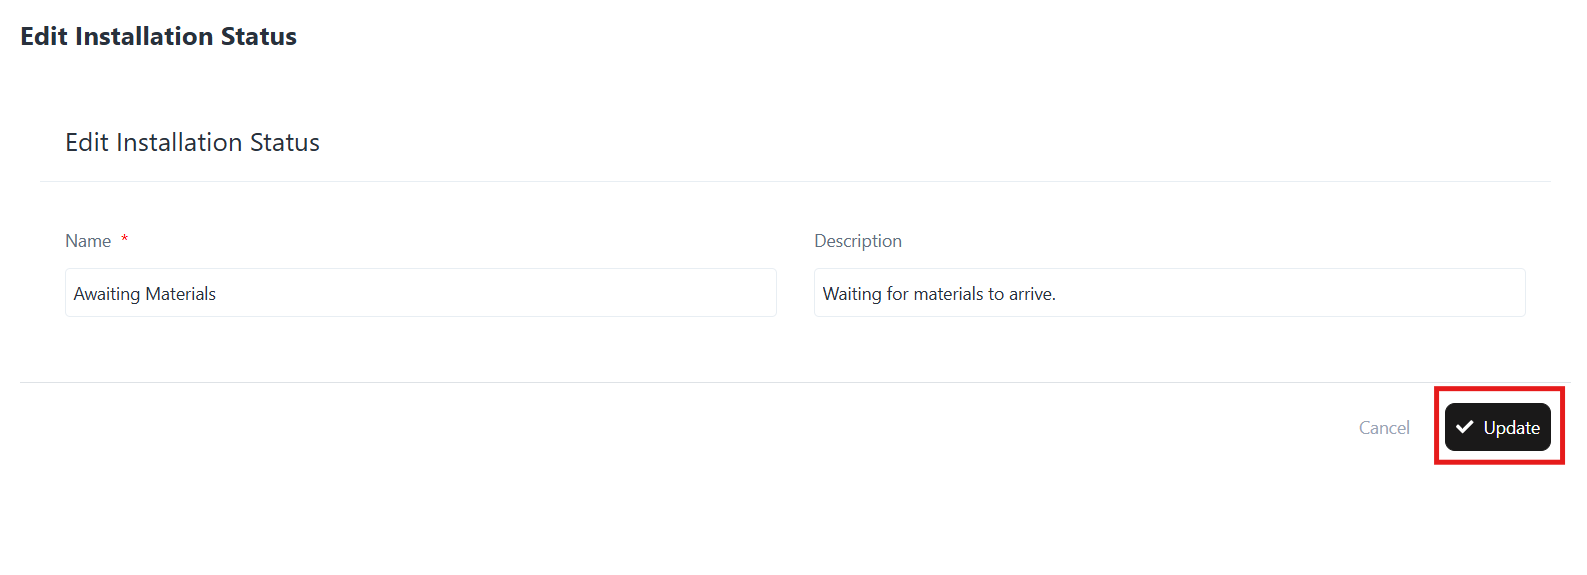
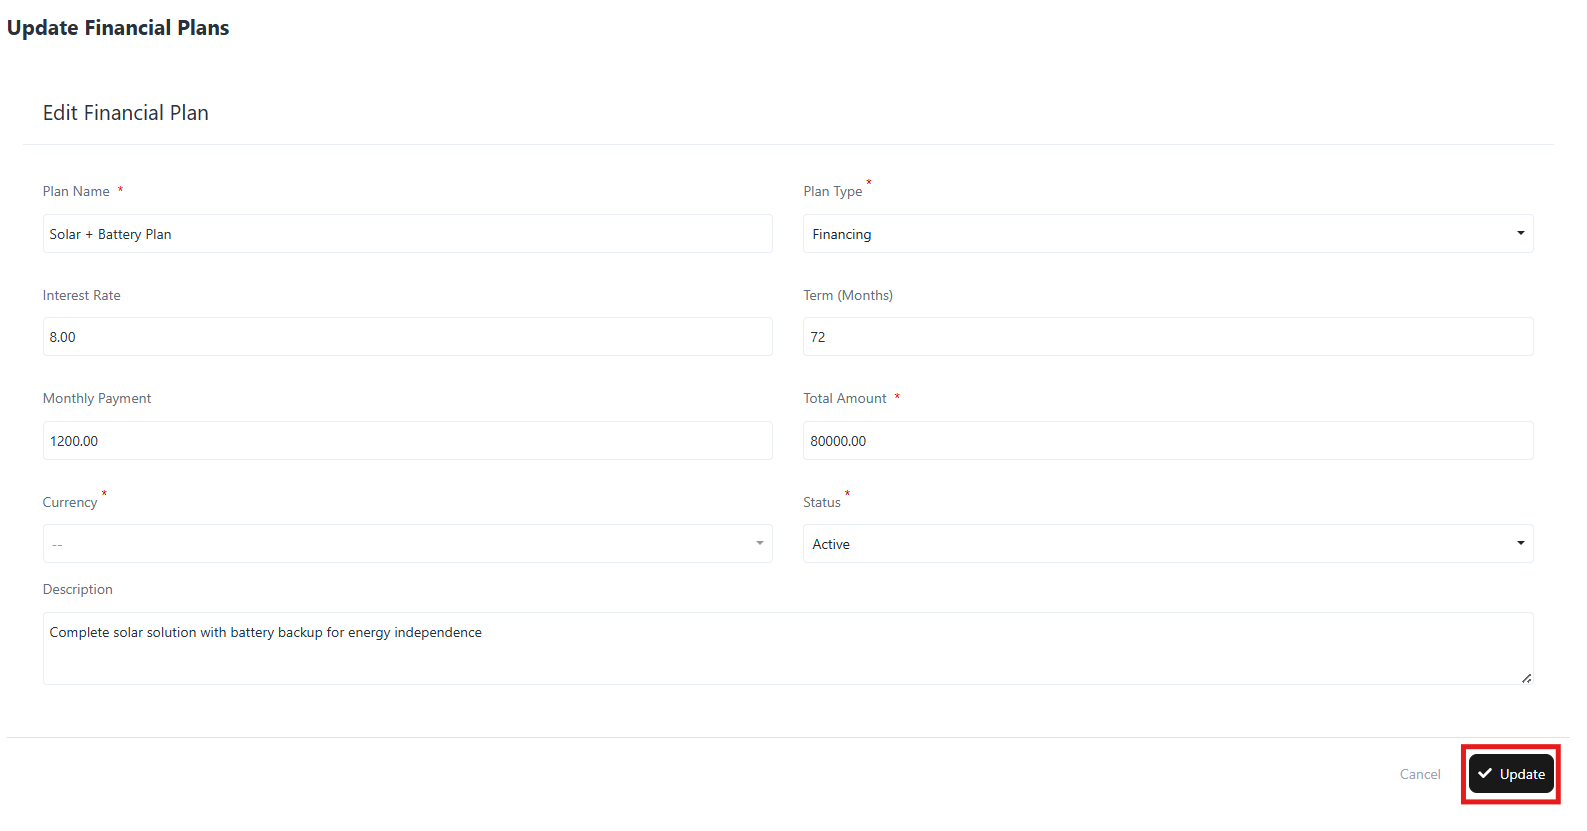
Edit a Financial Plan
- In the Financial Plan list, click the three-dot menu under the Action column for the desired plan.
- Select Edit.
- Update any of the details:
- Plan Name, Plan Type, Interest Rate, Term, Monthly Payment, Total Amount, Currency, Status, or Description.
- Click Update to save changes.
View a Financial Plan
- Click the three-dot menu under the Action column.
- Select View.
- The system displays detailed plan information including:
- Plan Name
- Plan Type
- Interest Rate
- Term (Months)
- Monthly Payment
- Total Amount
- Status
- Description
- Created Date
Delete a Financial Plan
- Click the three-dot menu next to the financial plan.
- Select Delete.
- Confirm the deletion when prompted.