Installation Status

Installation Status

The Installation Statuses module allows you to create, edit, and delete different statuses for installation projects. These statuses help track project progress effectively.

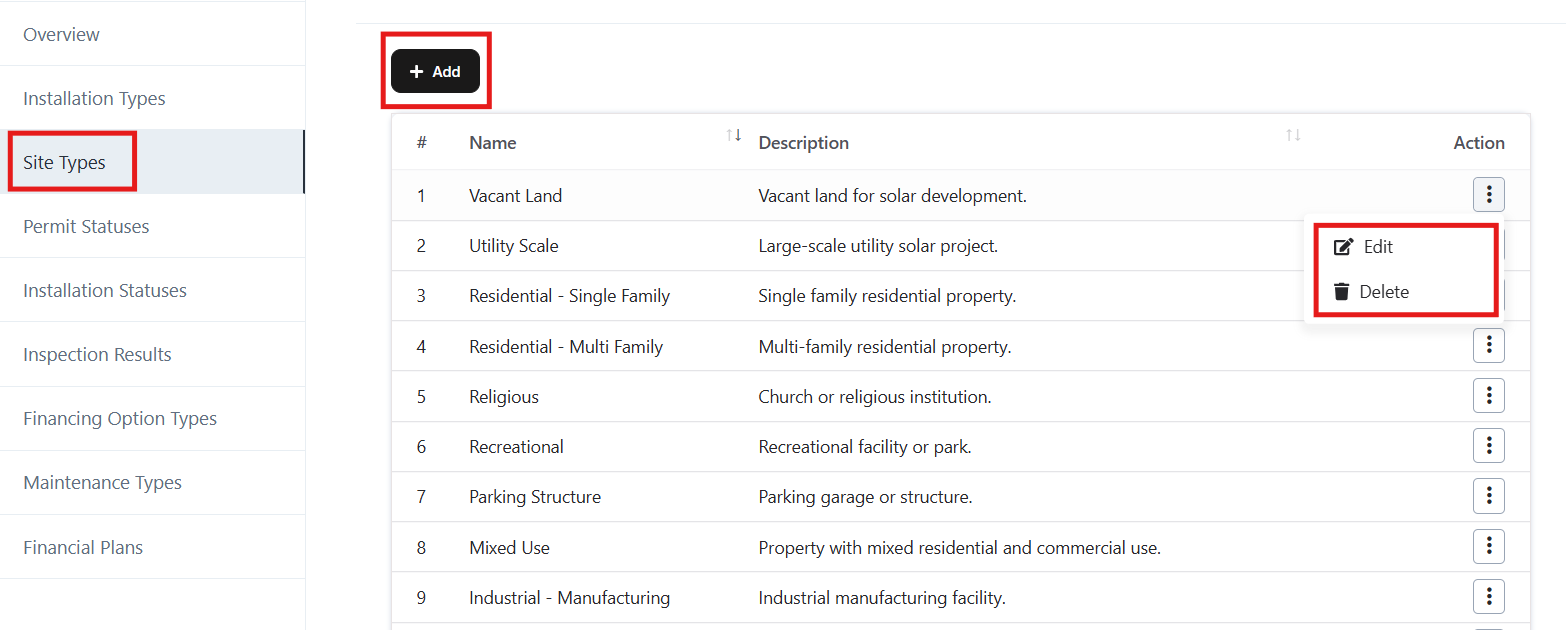
1. Navigate to Installation Statuses

  • From the left menu, click on Installation Statuses.
  • You will see a list of existing statuses with their NameDescription, and available Actions.

Navigate to Installation Statuses

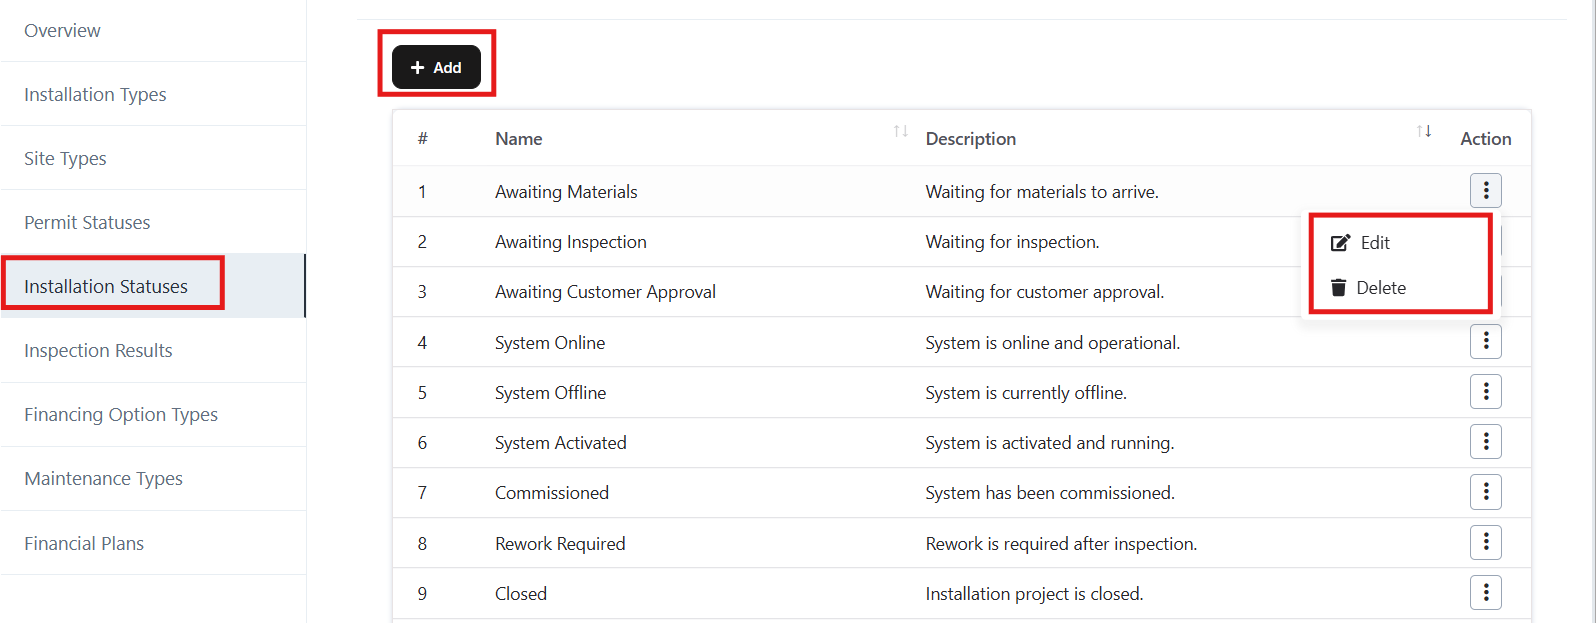
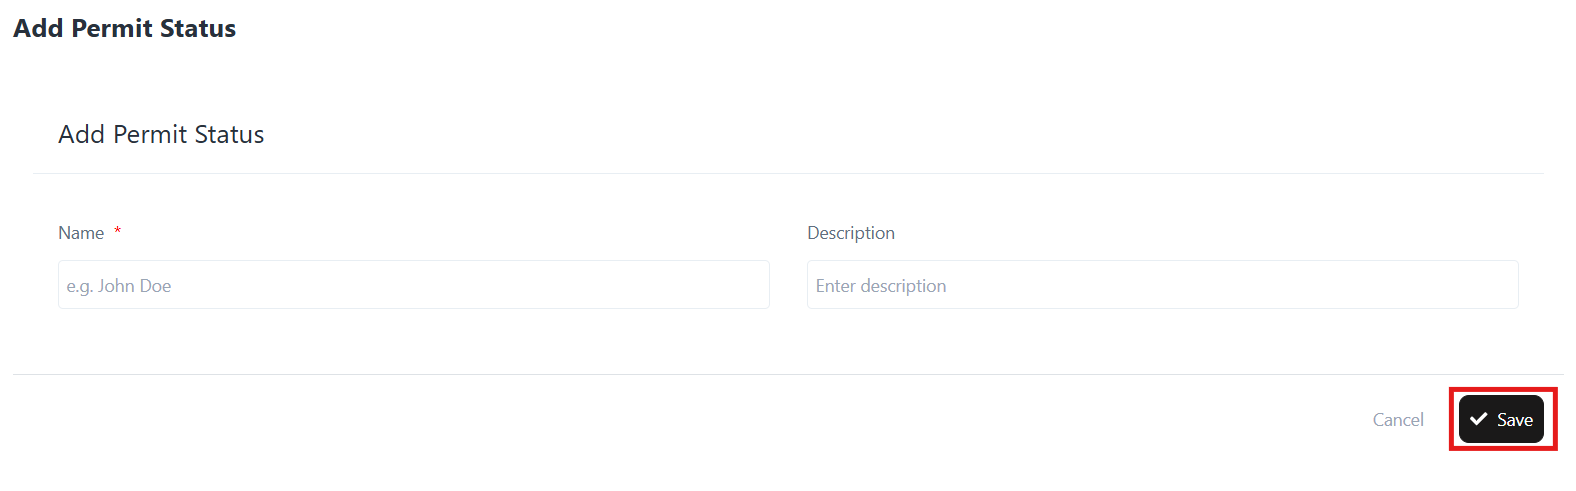
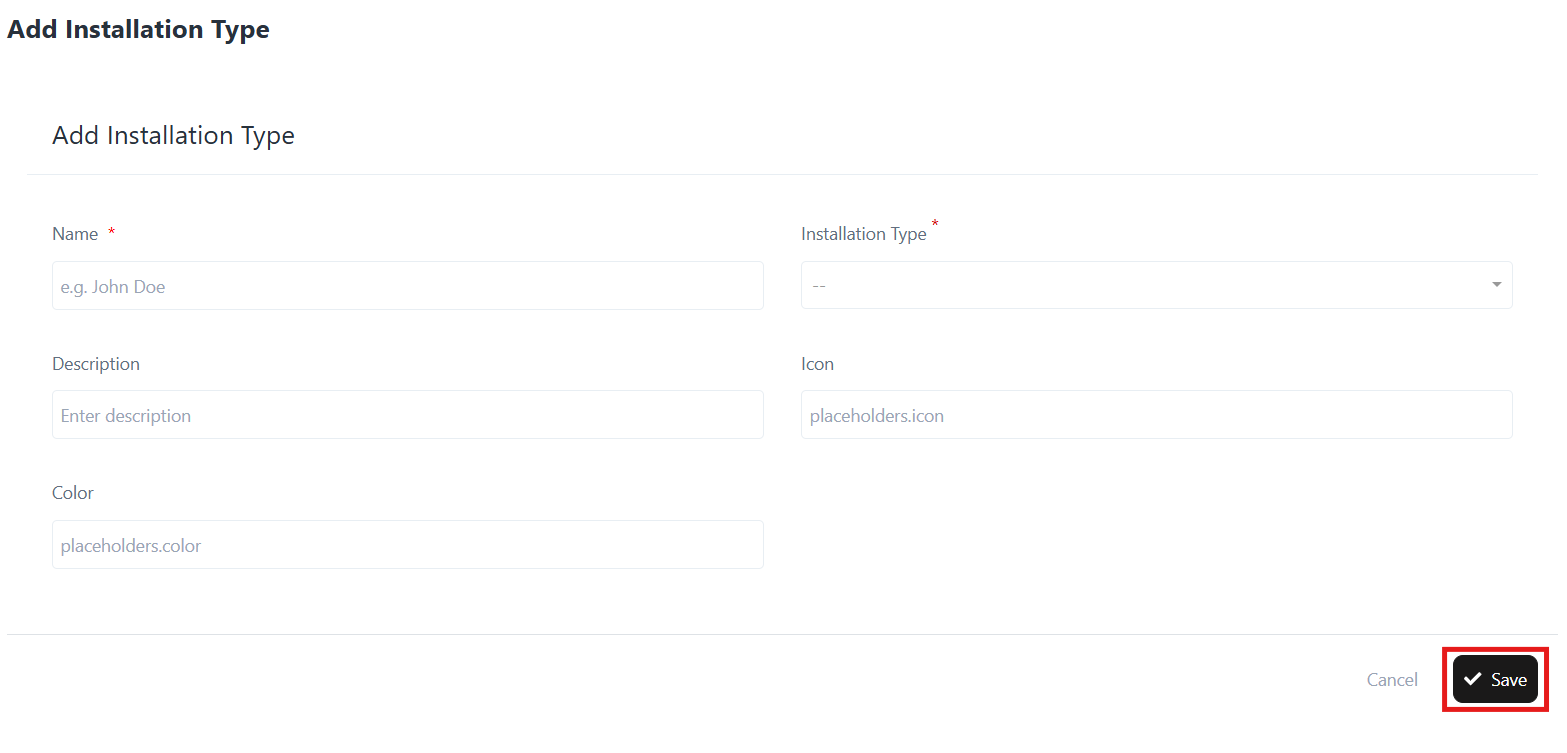
2. Add a New Installation Status

  • Click the + Add button at the top of the Installation Statuses list.
  • Enter the following details:
    • Name*: The title of the status (e.g., Awaiting Materials).
    • Description: A short explanation of the status (e.g., Waiting for materials to arrive.).
  • Click Save to create the new status.

Add a New Installation Status

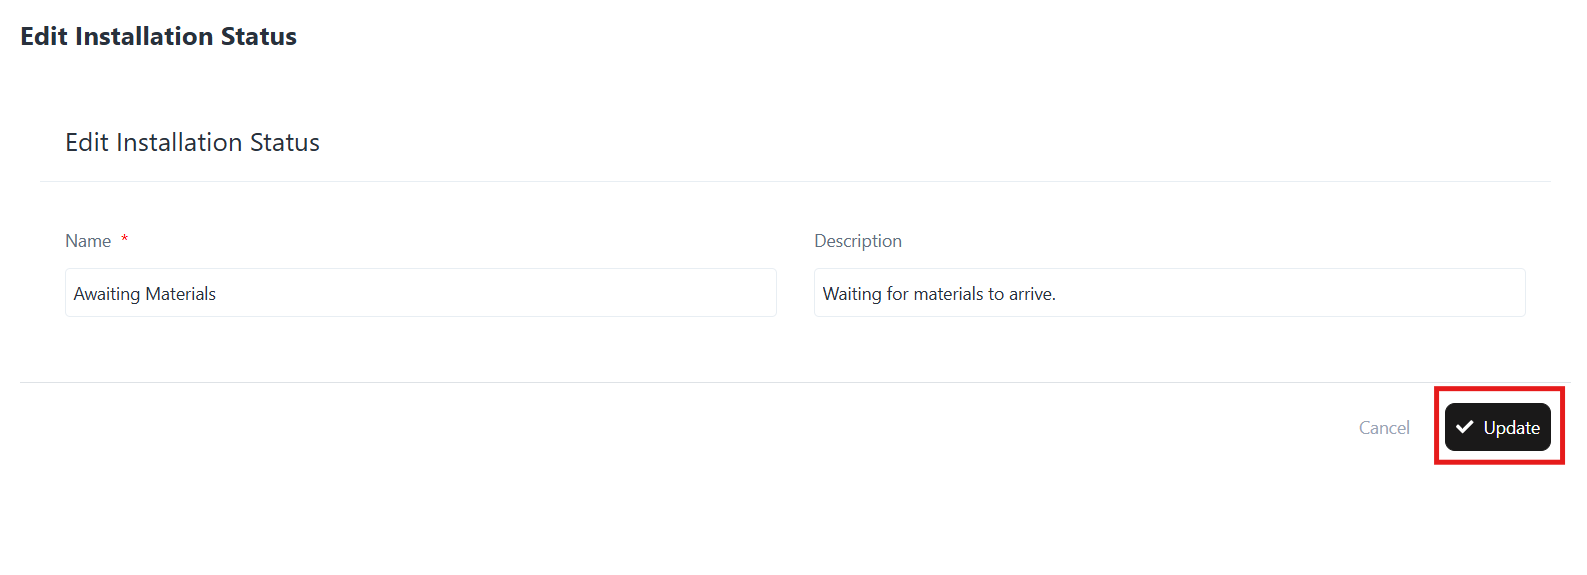
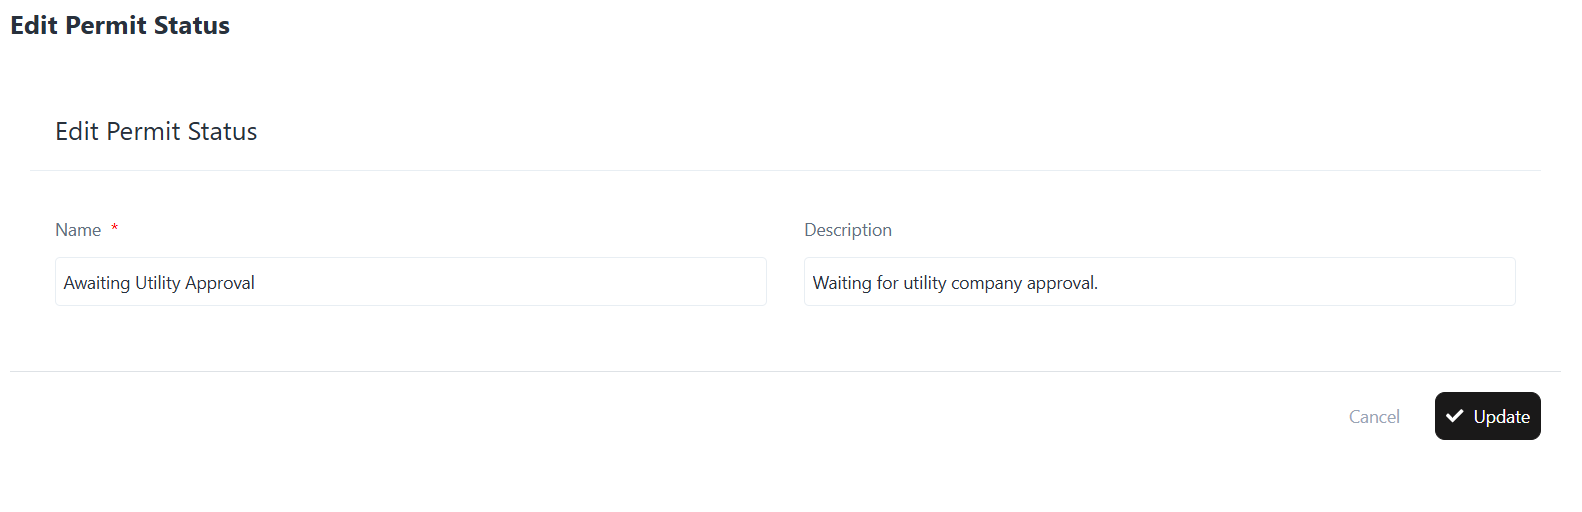
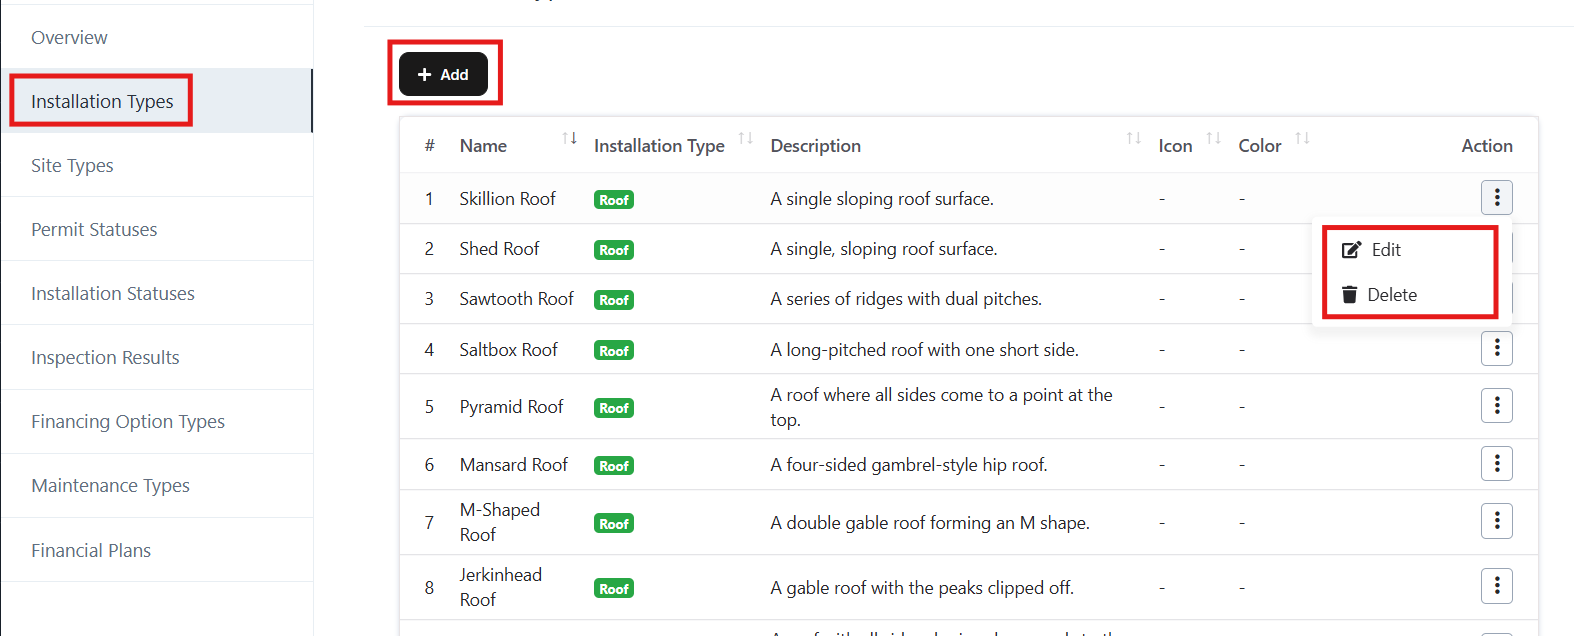
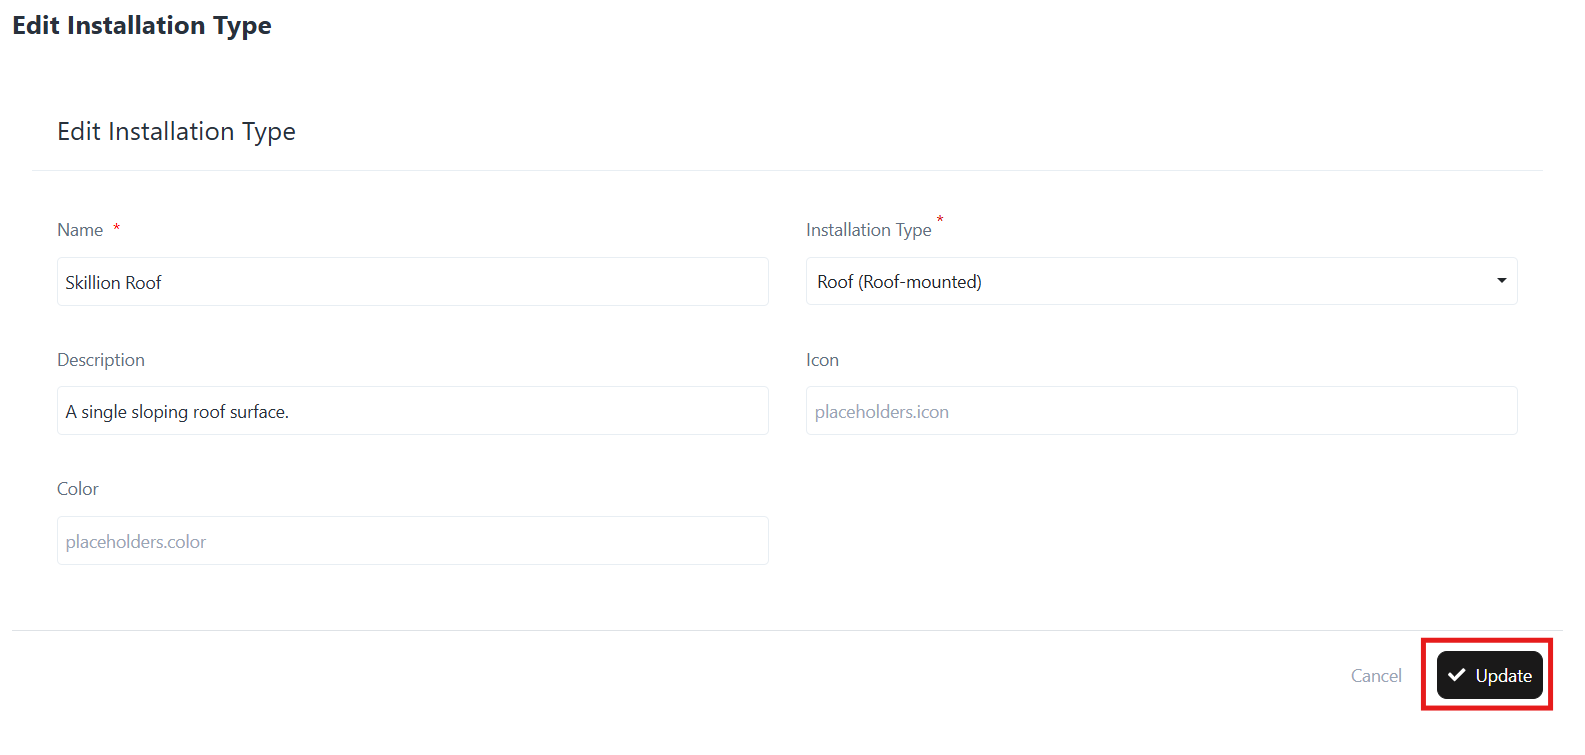
3. Edit an Existing Installation Status

  • Locate the status you want to edit in the list.
  • Click the ⋮ (three dots) under the Action column.
  • Select Edit.
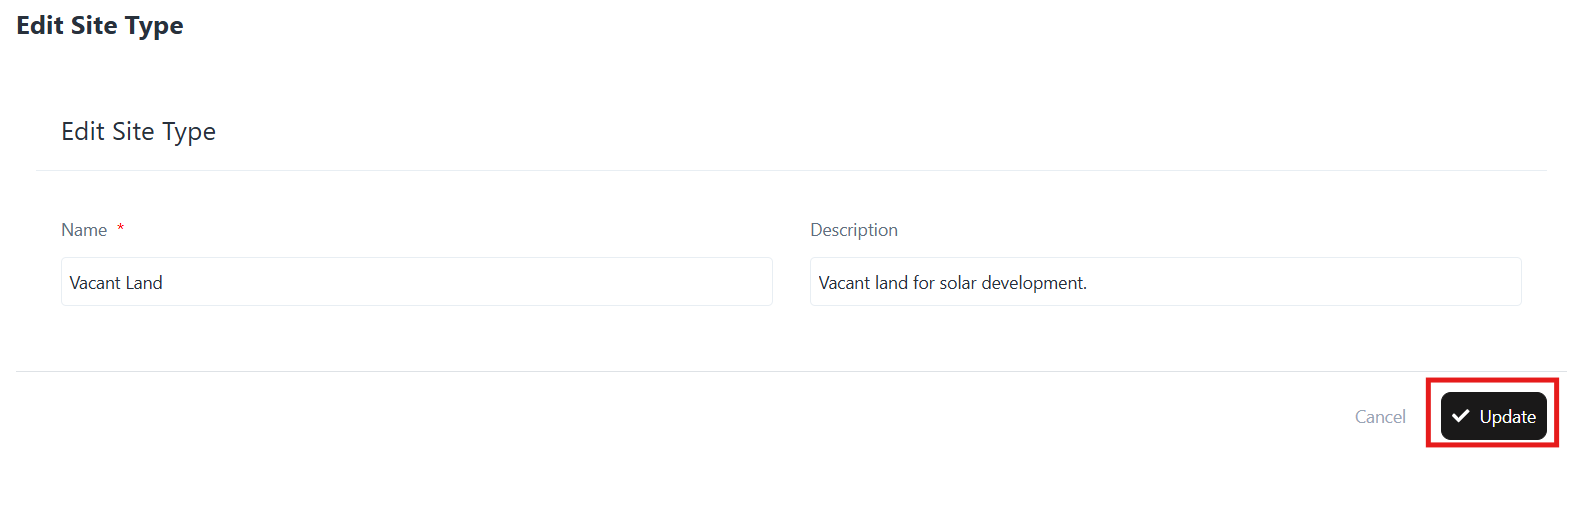
  • Update the Name or Description as needed.
  • Click Update to save the changes.

Edit an Existing Installation Status

4. Delete an Installation Status

  • Locate the status you want to remove.
  • Click the ⋮ (three dots) under the Action column.
  • Select Delete.
  • Confirm deletion when prompted.

Note: Deleted statuses cannot be recovered. Ensure the status is not in use before deleting.

5. Example Installation Statuses

Here are some predefined statuses you may encounter or create:

  • Awaiting Materials – Waiting for materials to arrive.
  • Awaiting Inspection – Waiting for inspection.
  • Awaiting Customer Approval – Waiting for customer approval.
  • System Online – System is online and operational.
  • System Offline – System is currently offline.
  • System Activated – System is activated and running.
  • Commissioned – System has been commissioned.
  • Rework Required – Rework is required after inspection.
  • Closed – Installation project is closed.

Permit Statuses

Permit Statuses

Overview

The Permit Statuses section in the Solar module helps track and manage the lifecycle of permits required for solar installations. By defining various statuse such as “Awaiting Approval,” “Approved,” or “Rejected,” businesses can efficiently monitor the progress of permit applications and stay compliant with utility and municipal requirements.

Why Permit Statuses?

Permit Statuse are essential for:

  • Standardizing the tracking of permit processes across projects.
  • Providing visibility into pending, approved, rejected, or expired permits.
  • Improving project scheduling by ensuring permit readiness.
  • Streamlining communication with stakeholders on permit progress.

Accessing Permit Statuses

  • Log in to the application.
  • From the left navigation menu, go to Solar → Settings.
  • Select Permit Statuse from the list.

Accessing Permit Statuses

Module Structure

Permit Status List

  • Displays all permit statuse with Name and Description.
  • Provides Action options for each permit status:
    • Edit – Update the details of an existing permit status.
    • Delete – Remove a permit status from the system.

Navigation Path:
Login ➜ Solar ➜ Settings ➜ Permit Statuses

Add a New Permit Status

  • Click on the Add button.
  • Enter the following details:
    • Name – Define the status (e.g., Awaiting Utility Approval).
    • Description – Provide details about the status (e.g., Waiting for utility company approval).
  • Click Save to create the new permit status.

Add a New Permit Status

Edit an Existing Permit Status

  • From the Permit Status list, click the Edit option under Actions.
  • Update the required details (Name, Description).
  • Click Update to save the changes.

Edit an Existing Permit Status

Delete a Permit Status

  • From the Permit Status list, click the Delete option under Actions.
  • Confirm the action to permanently remove the permit status.

Site Types

Site Types

Overview

The Site Types section in the Solar module allows users to define and manage various types of sites where solar installations can be performed. By categorizing sites (e.g., Residential, Utility Scale, Vacant Land, Industrial), businesses can standardize project management, streamline reporting, and improve project allocation.

Why Site Types?

The Site Type feature enables you to:

  • Classify solar project sites based on usage (Residential, Industrial, Recreational, etc.).
  • Maintain consistent site categorization for reporting and analysis.
  • Easily manage and edit existing site type.
  • Ensure better project planning by associating projects with accurate site types.

Accessing Site Types

  • Log in to the application.
  • From the left navigation panel, go to Solar → Settings.
  • Select Site Type from the Settings menu.

Module Structure

Site Types List

  • Displays all existing site type with Name and Description.
  • Provides Action options for each site type:
    • Edit – Update existing site type details.
    • Delete – Remove a site type from the system.

Navigation Path:

Login ➜ Solar ➜ Settings ➜ Site Types

Navigation Path:

Add a New Site Type

  • Click on the Add button.
  • Fill in the required fields:
    • Name – Enter the site type name (e.g., Residential – Single Family).
    • Description – Provide a short description of the site type.
  • Click Save to add the new site type.

Add a New Site Type

Edit an Existing Site Type

  • From the Site Type list, click on the Edit option under Actions.
  • Update the required details (Name, Description).
  • Click Update to save changes.

Edit an Existing Site Type

Delete a Site Type

  • From the Site Type list, click on the Delete option under Actions.
  • Confirm the action to permanently remove the site type.

Installation Types

Installation Types

Overview

The Installation Type section in the Solar module allows you to manage different type of installation categories, such as roof types or ground-mounted systems. This helps standardize site assessments and ensures accurate project planning.

With this feature, you can add, edit, or delete installation type according to your project requirements.

Accessing Installation Types

  • Log in to your application.
  • From the left-hand menu, go to Solar ➜ Settings.
  • Click on Installation Type.

Login ➜ Solar ➜ Settings ➜ Installation Types ➜ Add / Edit / Delete
Navigation Path

Installation Types – Actions

1. Add New Installation Type

  • Click on the + Add button (top-left).
  • A form will open (see screenshot).
  • Fill in the following details:
    • Name – Enter the name of the installation type (e.g., Skillion Roof).
    • Installation Type – Select type (e.g., Roof, Ground Mount).
    • Description – Provide a brief description of the installation type.
    • Icon – (Optional) Upload/define an icon for quick identification.
    • Color – (Optional) Assign a color for better visualization.
  • Click Save to create the new installation type.

Add New Installation Type

Example:

Name: Skillion Roof
Type: Roof
Description: A single sloping roof surface.

2. Edit Installation Type

  • In the Installation Type list, click the three-dot menu beside the record.
  • Select Edit.
  • Update the fields such as Name, Type, Description, Icon, or Color.
  • Click Update to save the changes.

Edit Installation TypeExample Update:

Installation Type: Roof (Roof-mounted)
Description: A single sloping roof surface.

3. Delete Installation Type

  • In the Installation Type list, click the three-dot menu beside the record.
  • Select Delete.
  • Confirm the deletion.

Note: A Deleted installation type cannot be recovered.

Access Settings

Access Settings

Overview

The Settings sub-module in the Solar CRM provides administrators with the ability to configure system-wide parameters for solar project management. By customizing site types, installation statuses, maintenance types, financing options, and inspection results, businesses can align the platform with their operational processes.

This section ensures flexibility and standardization across projects while simplifying data entry and reporting.

Accessing Settings

  • Log in to CrmLeaf.
  • From the left navigation panel, go to Solar → Settings.
  • The settings page provides multiple configuration options displayed in categorized lists.

Login → Solar → Settings → [Choose Configuration Option]
Navigation Path

Key Configuration Options

  • Overview
    • Provides a general overview of solar installation configuration.
  • Site Types
    • Define and manage categories of sites (e.g., Residential, Commercial, Industrial, Government).
  • Installation Types
    • Manage roof types (e.g., Flat Roof, Sloped Roof, Ground Mount).
  • Permit Statuses
    • Configure permit approval workflows (e.g., Pending, Approved, Rejected).
  • Installation Statuses
    • Set installation progress markers (e.g., In Progress, Completed, Delayed).
  • Inspection Results
    • Define inspection outcomes (e.g., Passed, Failed, Re-inspection Required).
  • Financing Option Types
    • Manage financing schemes available (e.g., Lease, Loan, Purchase, PPA).
  • Maintenance Types
    • Categorize maintenance activities (e.g., Preventive, Corrective, Inspection, Emergency).
  • Financial Plans
    • Configure high-level financing plans that may be applied across projects.

How to Manage Settings

  • Select the configuration you want to update (e.g., Manage Site Types).
  • Add, edit, or delete records as required.
  • Changes are immediately reflected across the Solar module (in Site Management, Assessments, Maintenance, etc.).

Benefits

  • Ensures consistency in project data.
  • Reduces manual errors with standardized dropdowns.
  • Provides flexibility to adapt the CRM to unique business workflows.
  • Simplifies filtering, reporting, and compliance tracking.

Maintenance Records

Maintenance Records

Overview

The Maintenance Records sub-module in the Solar CRM helps you document and track all maintenance activities performed on solar installations. It ensures accurate logging of inspection, preventive, corrective, and emergency maintenance, supporting compliance, performance monitoring, and lifecycle management of solar projects.

With this feature, you can:

  • Record details of maintenance activities.
  • Track technicians assigned to each task.
  • Log costs, duration, and findings of maintenance work.
  • Update task status (Scheduled, In Progress, Completed, Cancelled).
  • Export maintenance records for reporting and audits.

Accessing Maintenance Records

  • Log in to CrmLeaf.
  • From the left navigation panel, go to Solar → Maintenance Records.
  • The list view will display existing maintenance record with details such as Record Number, Maintenance Type, Performed Date, Technician, Cost, and Status.

Login → Solar → Maintenance Records → [Add / View / Export]

Navigation Path

Key Features

  • Add Maintenance Record – Log a new maintenance activity performed at a site.
  • View Record – Review the details of recorded maintenance.
  • Export Records – Download records for offline analysis, reporting, or compliance.
  • Filter/Search – Use filters for maintenance type, status, or technician to quickly locate records.

Adding a Maintenance Record

  • Click + Add Maintenance Record.
  • Fill in the required fields:
    • Site & Project – Select the solar site and project.
    • Schedule & Maintenance Type – Link the activity to a schedule and define its type (Inspection, Preventive, Corrective, Emergency, Other).
    • Work Performed – Enter details of the maintenance work carried out.
    • Start & Completion Dates – Log when the task was started and completed.
    • Duration (Hours) – Time spent on the activity.
    • Actual Cost & Currency – Enter cost incurred and select the currency.
    • Technician – Assign the responsible technician.
    • Status – Choose from Scheduled, In Progress, Completed, or Cancelled.
    • Findings & Recommendations – Add observations and suggested next steps.
    • Notes – Record additional remarks if required.
  • Click Save to add the record.

Adding a Maintenance Record

Viewing a Maintenance Record

  • From the list view, locate the record.
  • Open the Action Menu (⋮) and select View.
  • The details page will display all the recorded information, including costs, technician, findings, and recommendations.

Exporting Records

  • Click the Export button to download the maintenance record in a structured file for offline analysis, audits, or reporting.