EPC Vendors
The EPC Vendors module allows administrators to manage Engineering, Procurement, and Construction (EPC) vendor information within SolarCRM. It provides functionalities to add new vendors, edit details, export vendor data, and manage vendor accounts.
Navigation Path
Admin Dashboard → EPC Vendors
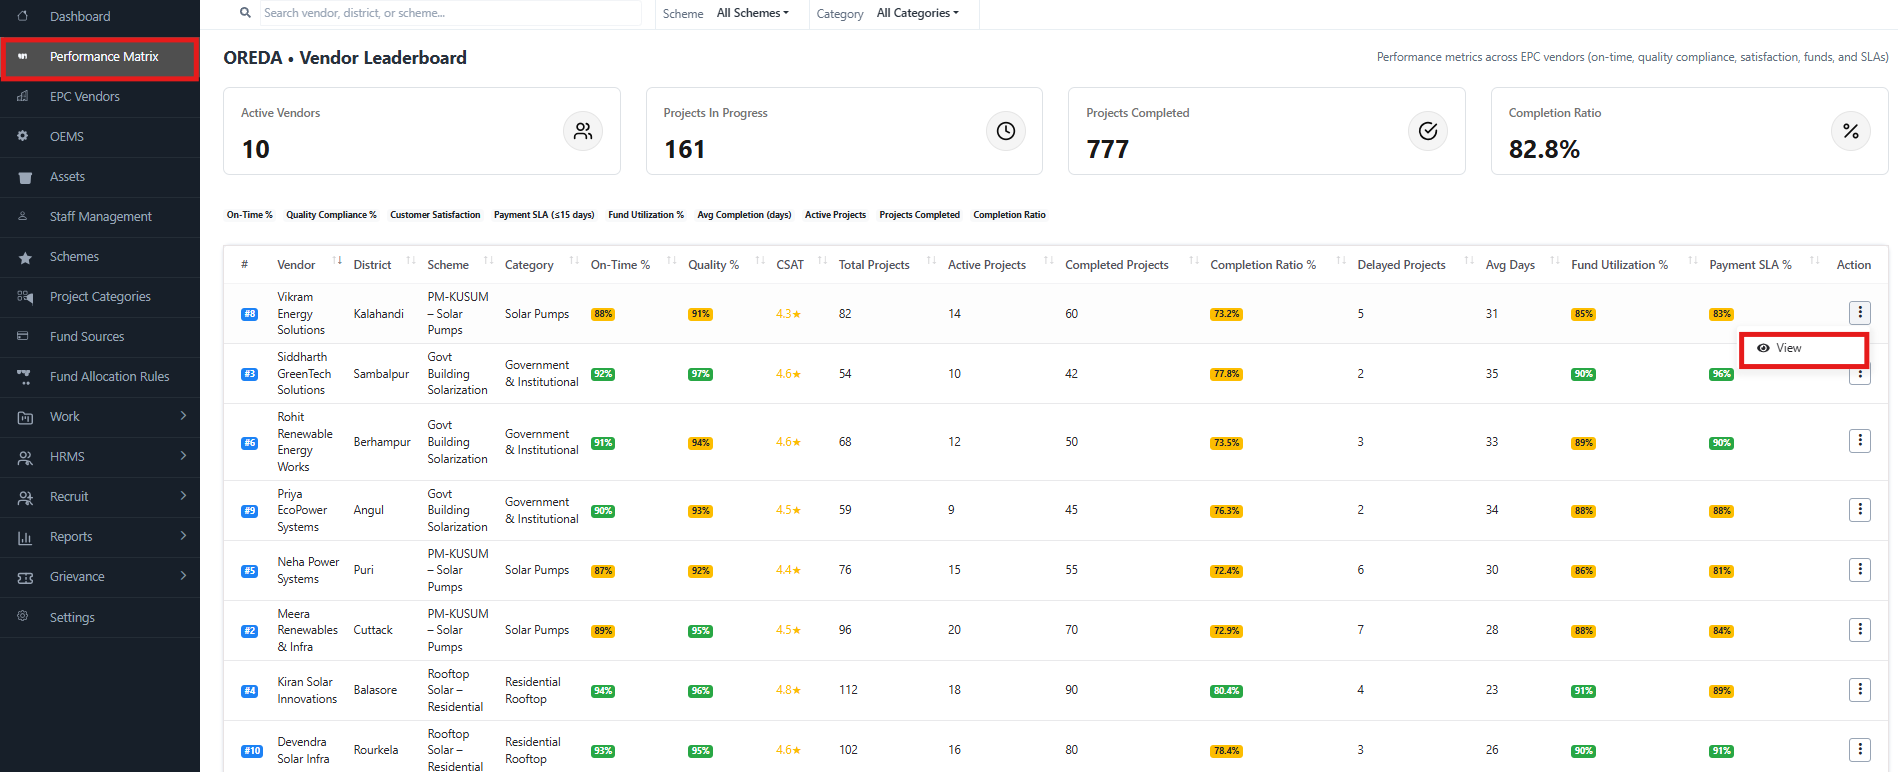
EPC Vendors Overview
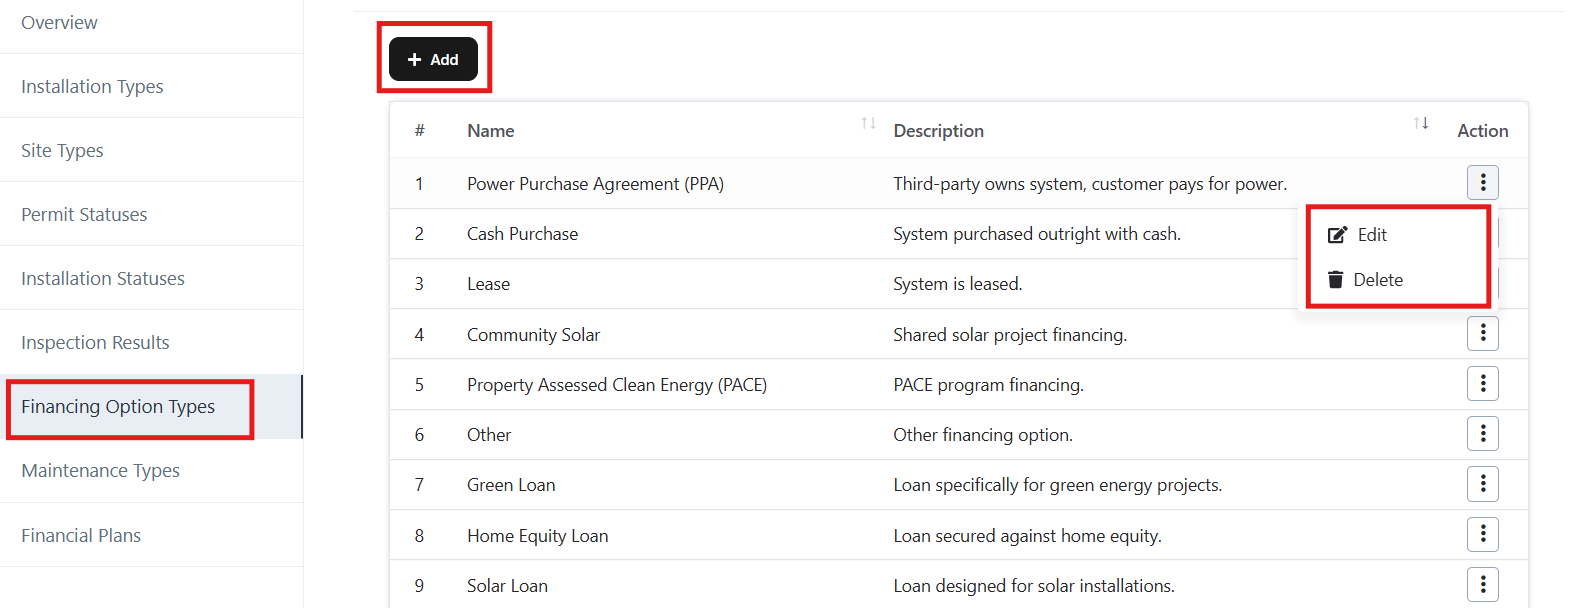
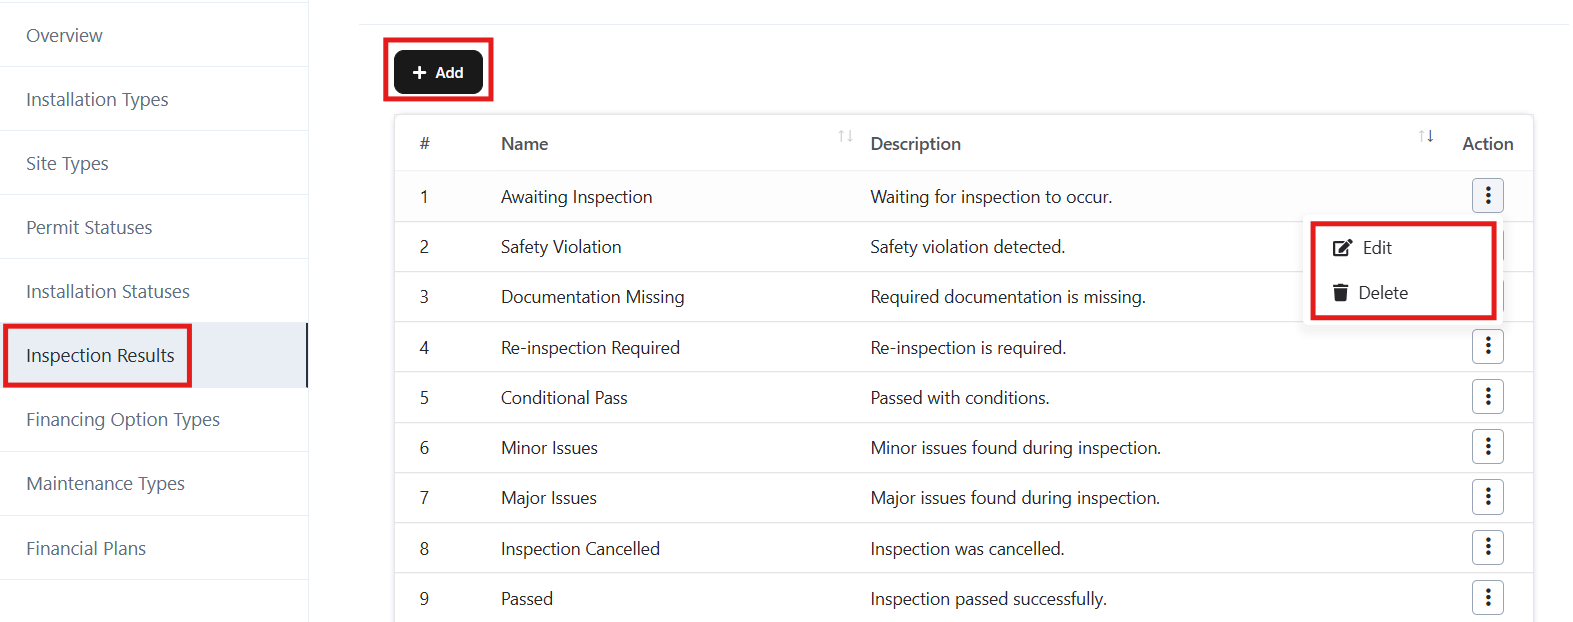
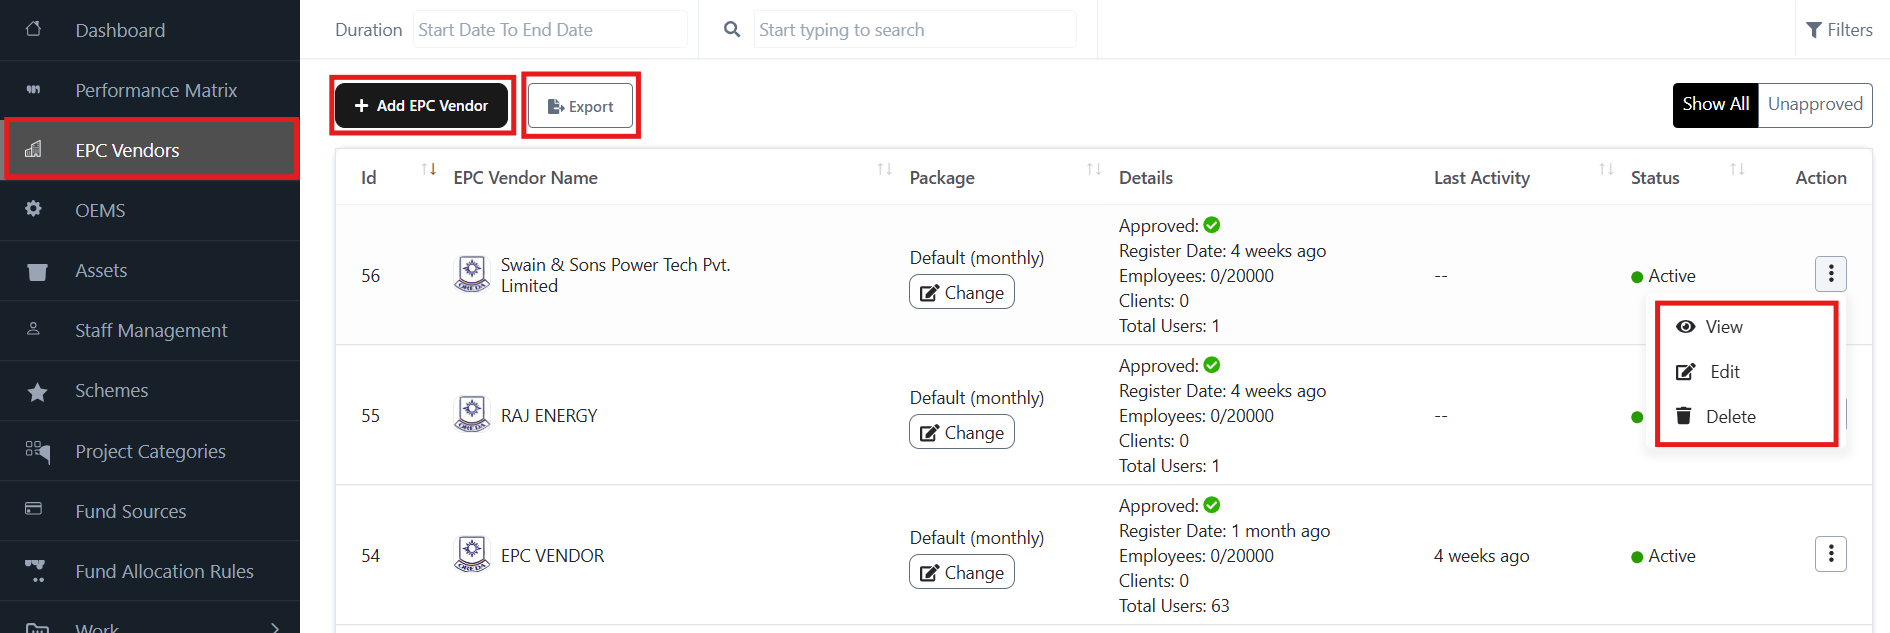
The EPC Vendor page displays the list of registered vendor with details such as:
- Vendor ID & Name
- Package (Default monthly or custom package)
- Approval & Registration Date
- Employee & Client Counts
- Status (Active/Inactive)
- Last Activity
From this screen, admins can:
- Add new EPC vendors
- Export vendor data
- View, Edit, or Delete vendor records
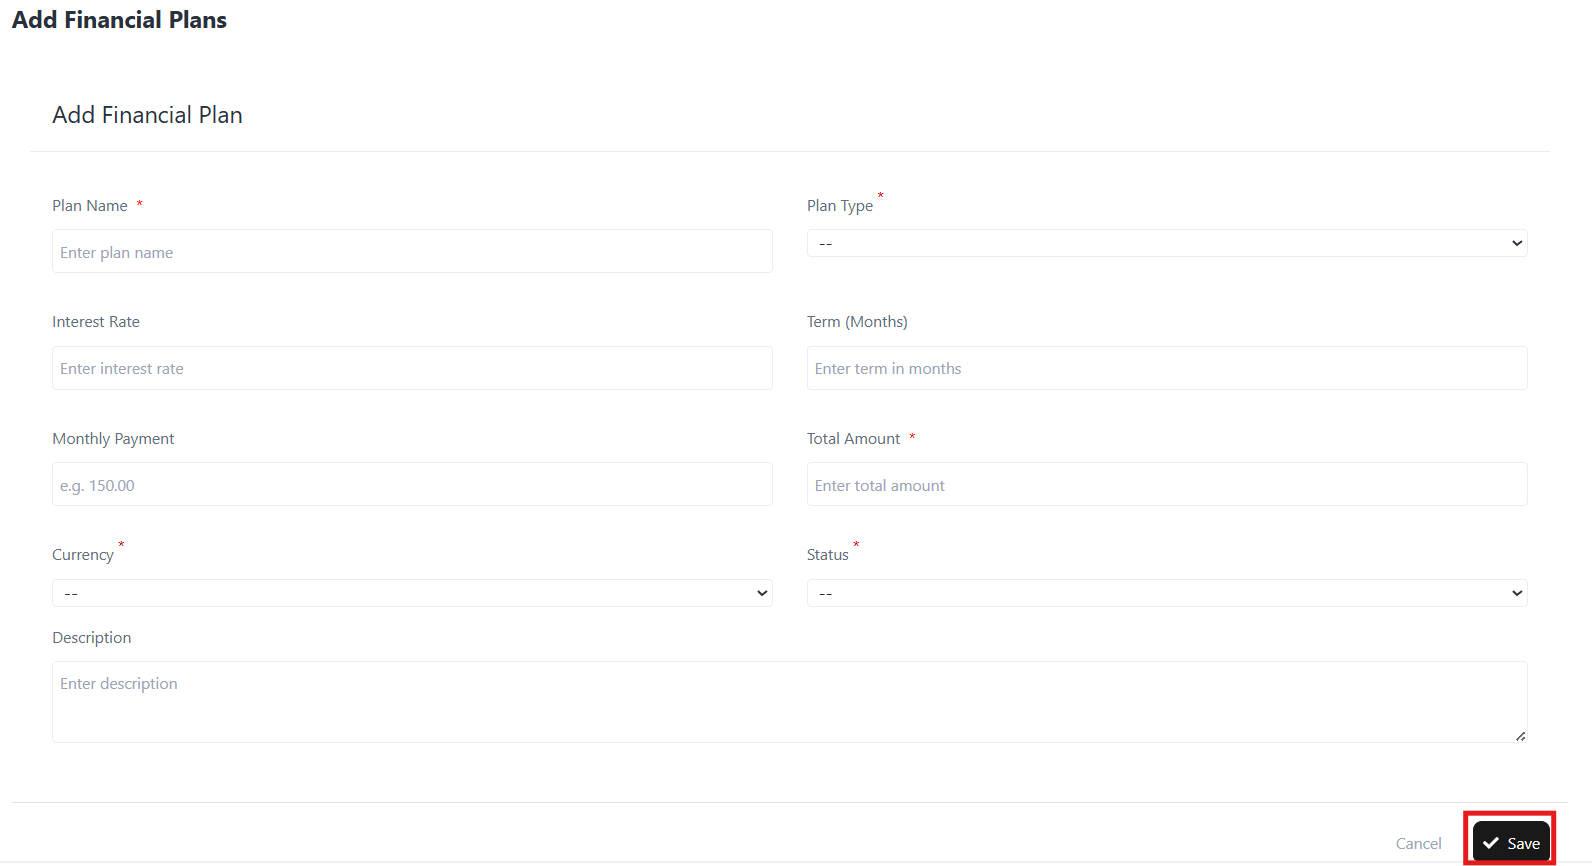
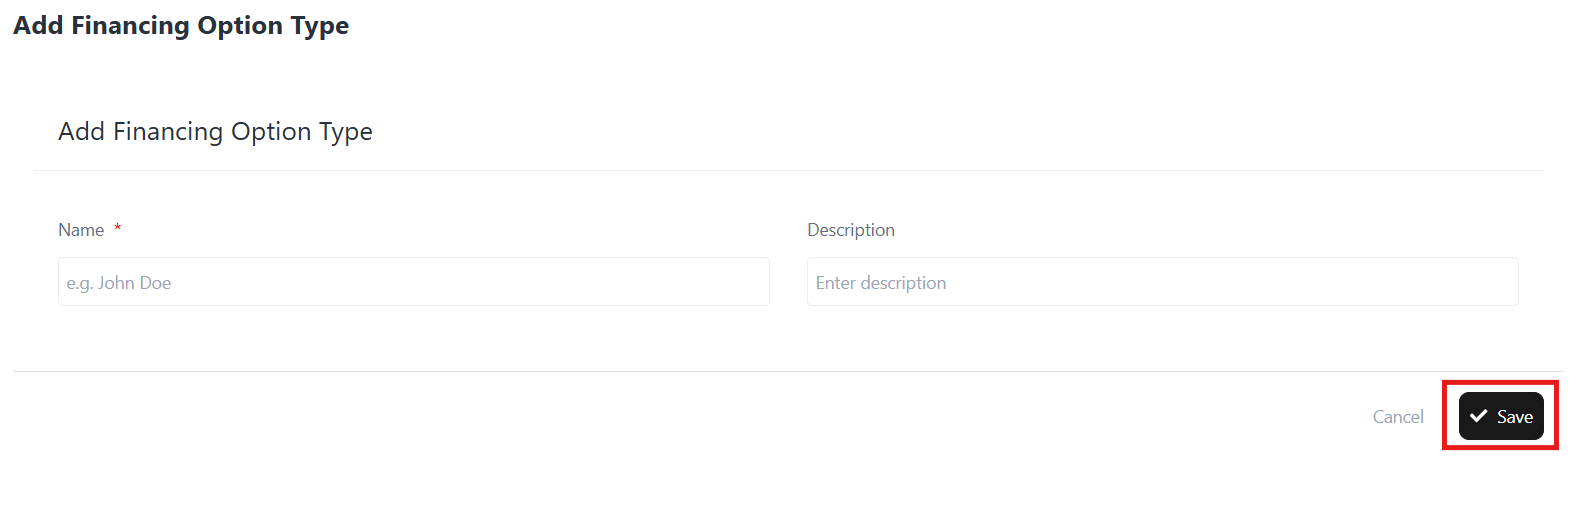
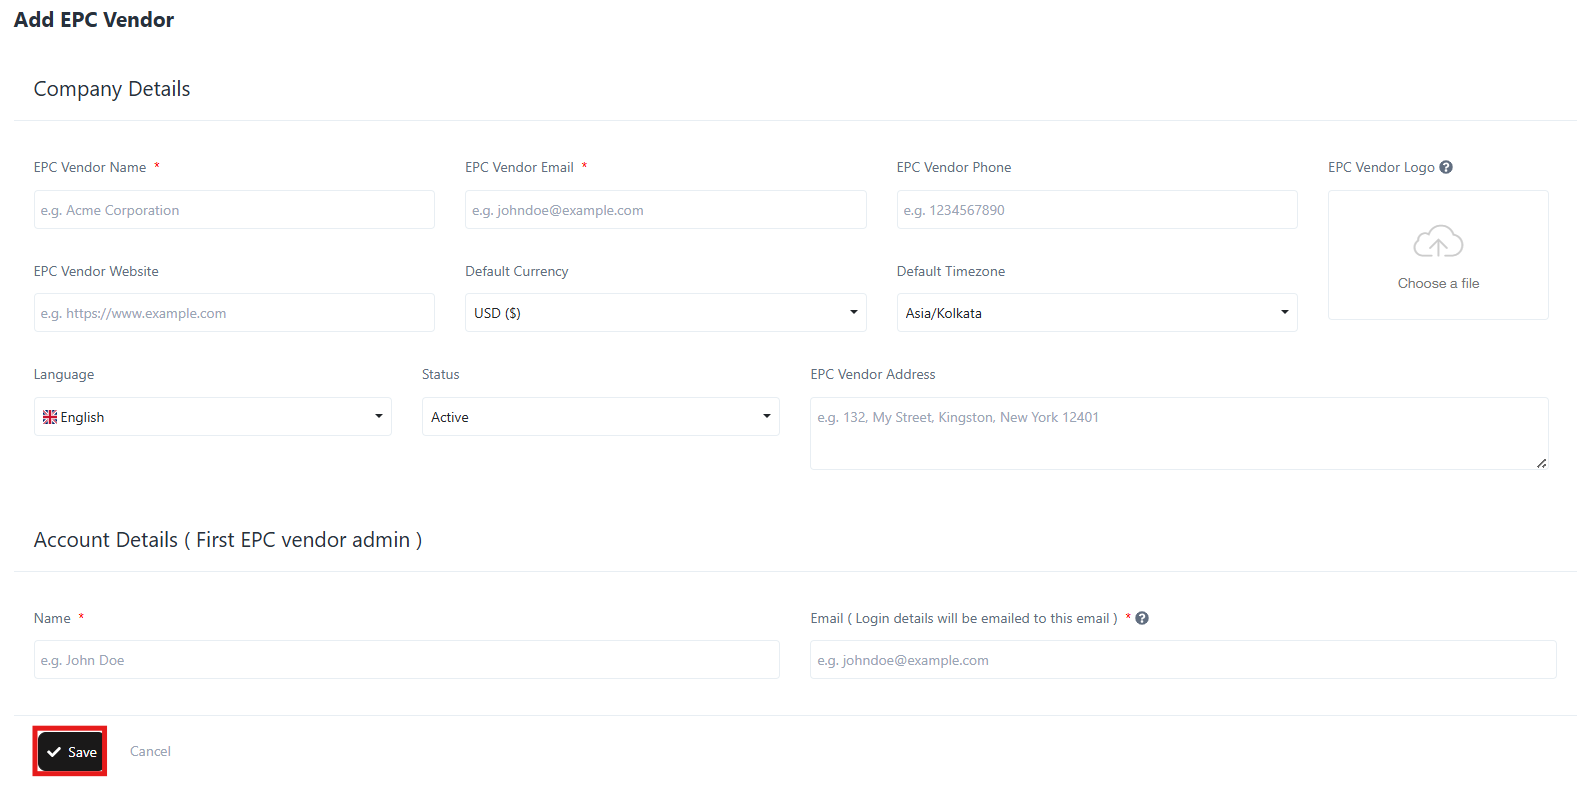
Adding a New EPC Vendor
- Click Add EPC Vendor.
- Fill in the Company Details:
- Vendor Name (required)
- Vendor Email (required)
- Vendor Phone
- Vendor Website
- Default Currency
- Default Timezone
- Vendor Address
- Upload Vendor Logo
- Select Language and Status
- Enter Account Details (for the first EPC vendor admin):
- Admin Name (required)
- Admin Email (required – login credentials will be sent here)
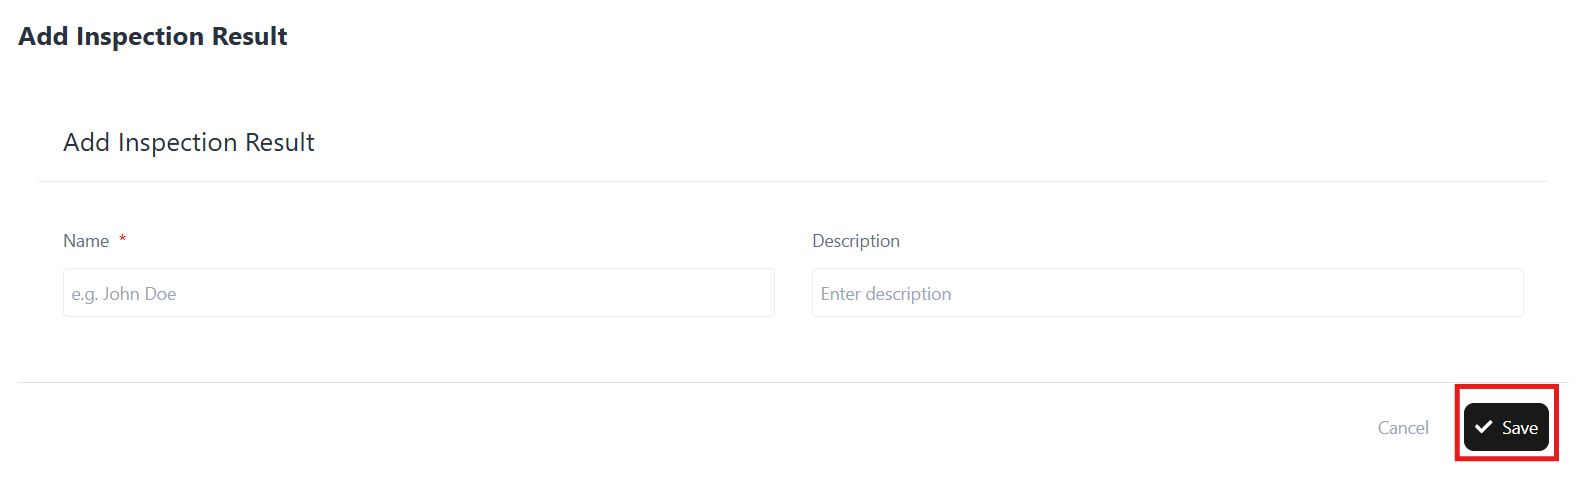
- Click Save to create the EPC Vendor record.
Exporting EPC Vendors
- Click Export on the EPC Vendor page to download the list of vendor.
- Exported data can be used for offline reporting or compliance records.
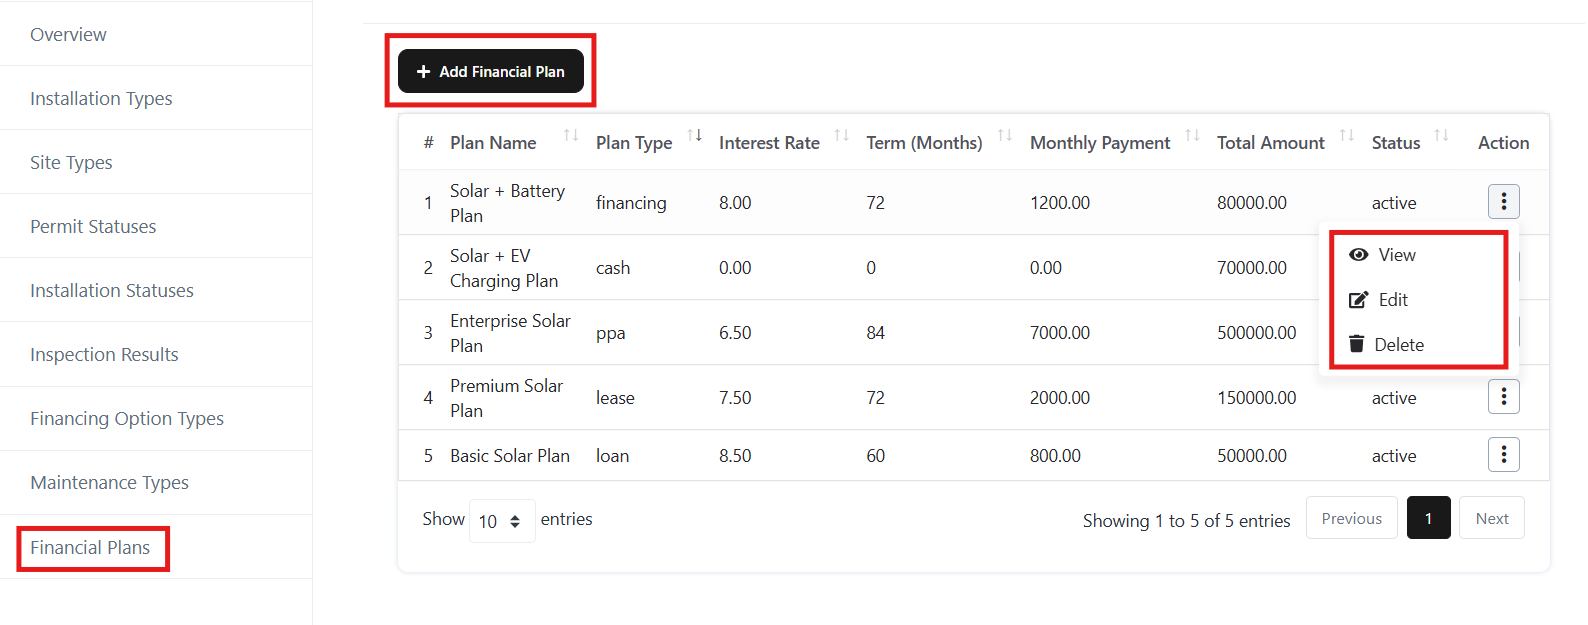
Vendor Actions
For each vendor, the Action menu (three dots on the right side) provides options:
- View → View vendor details.
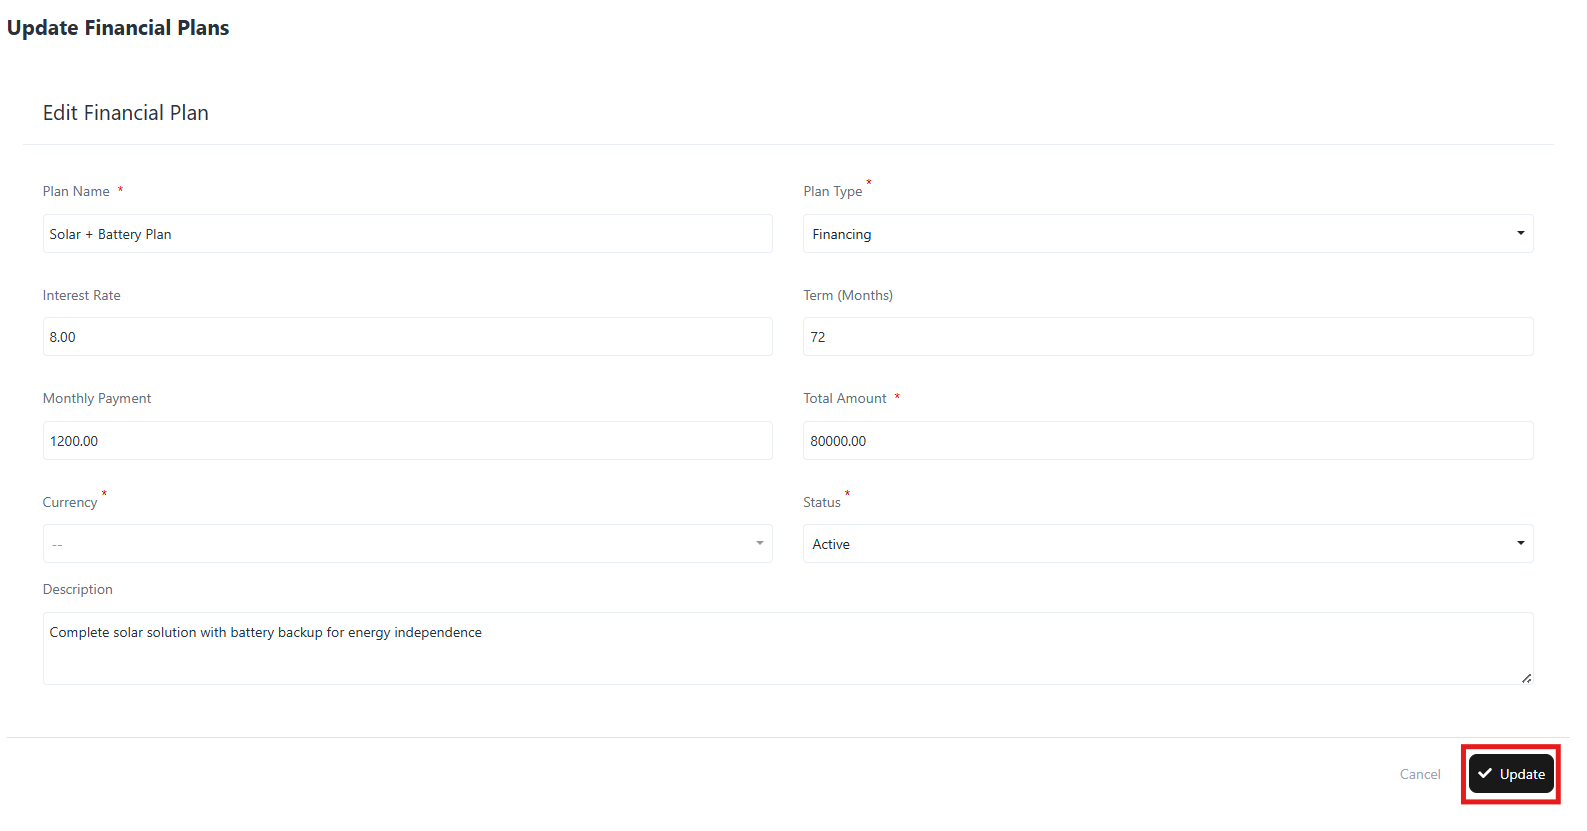
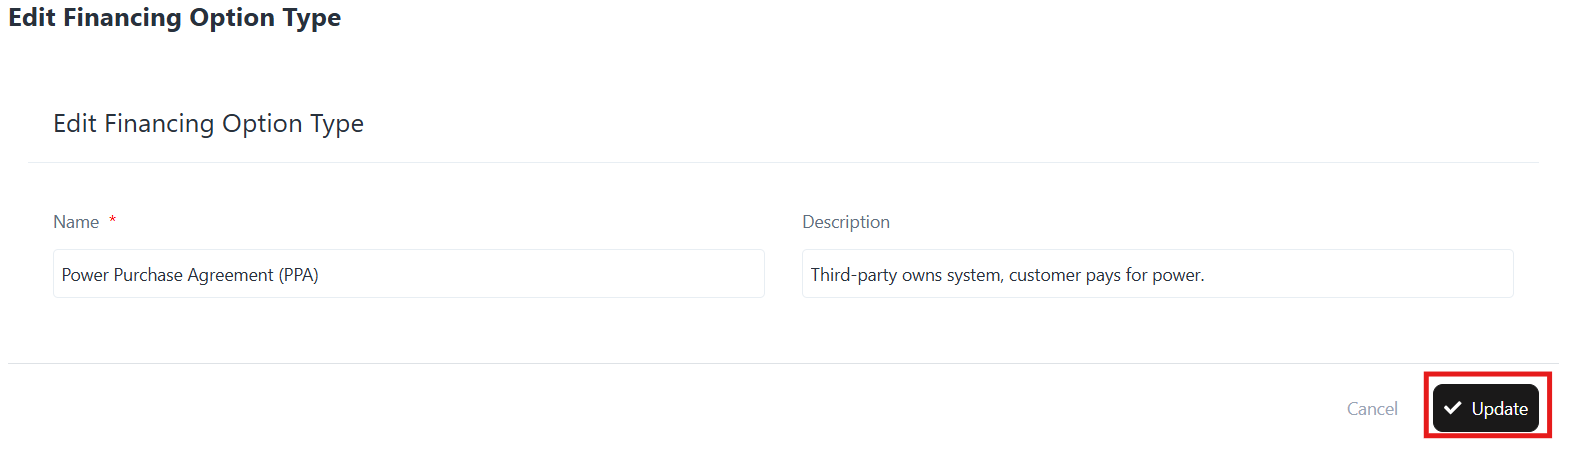
- Edit → Update vendor details such as contact info, package, or status.
- Delete → Permanently remove a vendor from the system.
Vendor Status
- Vendors can be marked Active or Inactive depending on their approval or engagement.
- Status can be updated via the Edit option.
Key Benefits
- Centralized EPC vendor database
- Easy onboarding of new vendors
- Export-ready vendor reports
- Secure vendor admin login creation